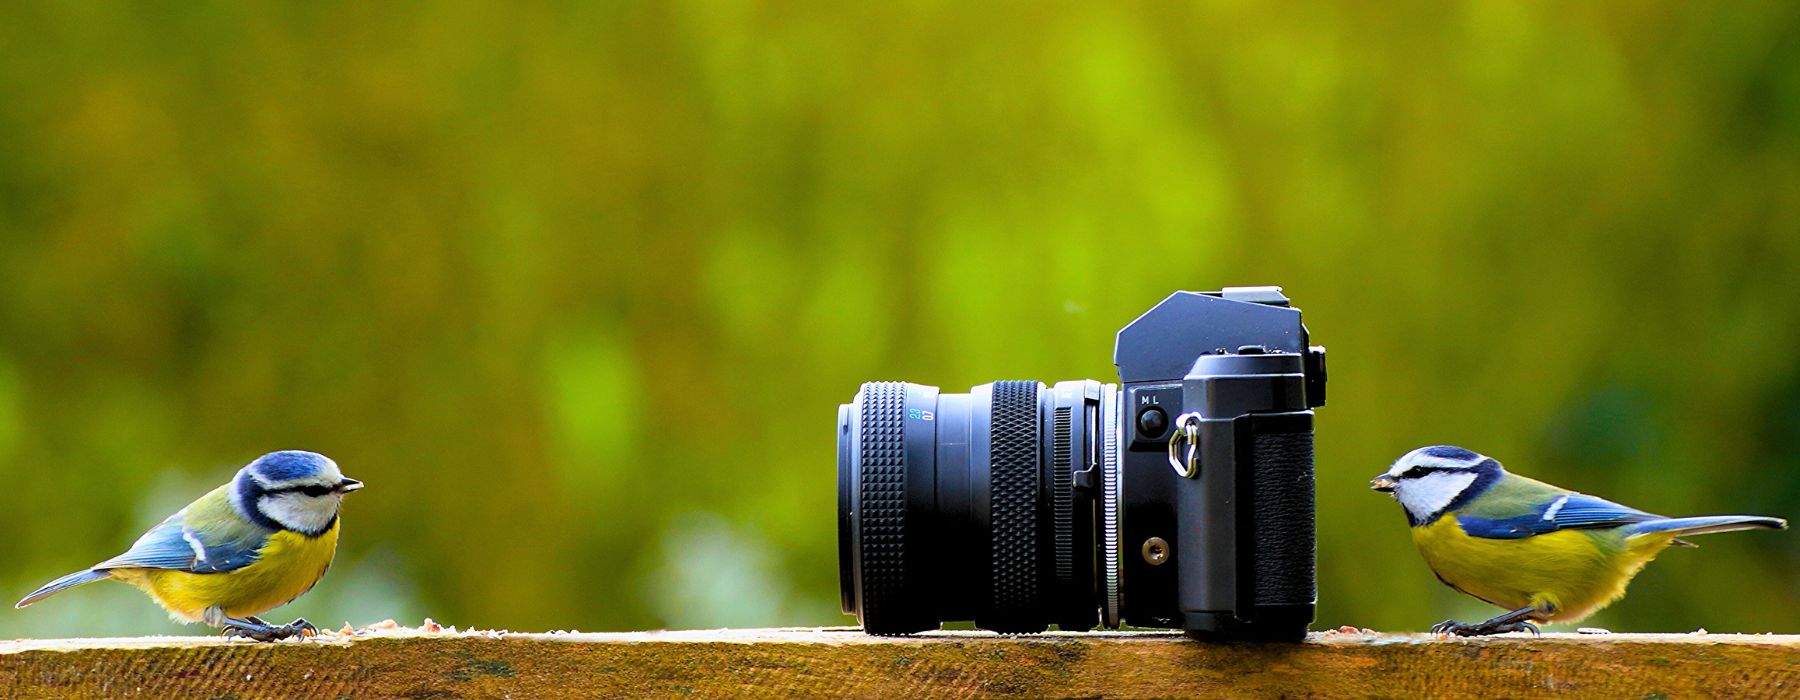
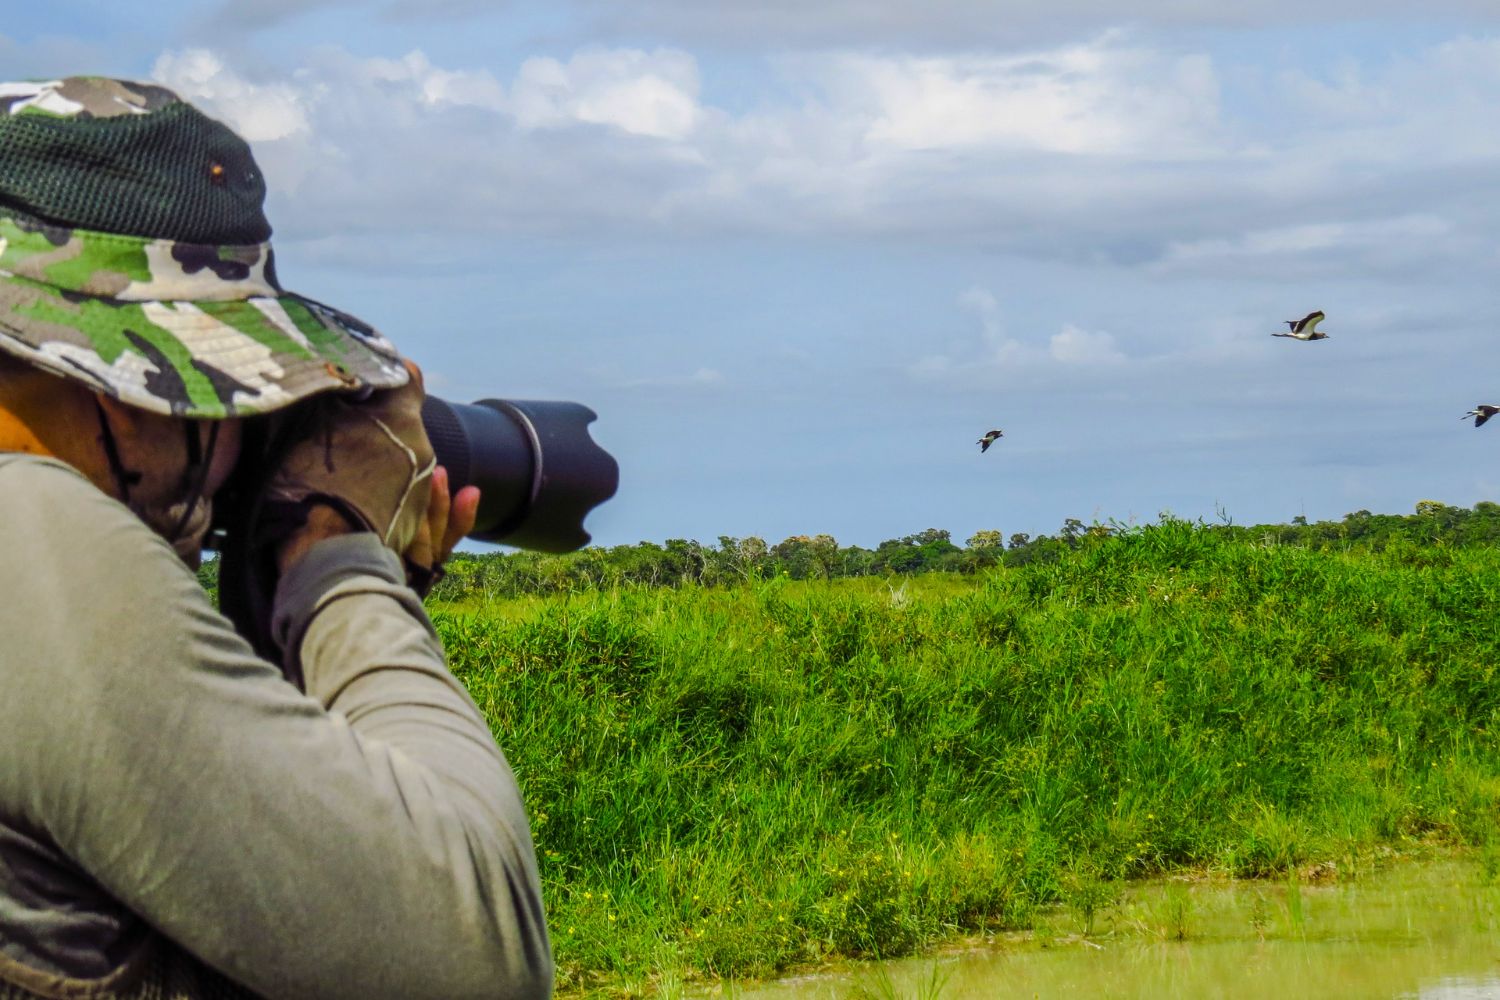
Bird cameras are an essential tool for wildlife photographers looking to capture sharp, detailed images of birds in their natural habitat in the Amazon rainforest. These animals know how to keep their distance and you won’t be able to take many photos without proper equipment. For this reason, we have made this post to tell you which are the best cameras for bird photography and wild nature.
Birds have their peculiarities, they fly and are more difficult to follow, they have very fast movements even when they are perched, some are very small and are usually very suspicious animals, who easily flee in the presence of humans (or any element they consider suspicious). or that is not part of their usual environment). If you like bird photography or photography of wild animals in the Amazon rainforest (for example, if you plan to do some kind of photographic safari) and you are looking for your first camera or want to improve your equipment, I recommend that you read this article calmly.
Let’s see what technical characteristics are important for this type of photography. It does not mean that you have to look for a team with all these characteristics. The ideal camera or the ideal photographic equipment does not exist. Each one has to find their balance, sacrifice some characteristics to have others.
So that we get a basic idea of the importance of each element, we could say that in regards to the technical part, the objective is 80%, the camera 15% and the tripod 5%.
The experience and technique of the photographer is of course very important. On many occasions the limitations of the equipment can be compensated with knowledge, imagination and patience. And if you don’t have patience, or knowledge (of photography, the species you want to photograph, the environment in which they live, their habits and schedules…), or experience in bird photography… even if you have the best photographic equipment in the world, your results will be mediocre.
In the case of photography of birds in flight, the technique and experience of the photographer is perhaps the most important factor. But logically in those cases it is also necessary that the equipment has a minimum performance in sections such as the focus system and the shooting speed.
We are going to start with the objective, since the type of photography that we are going to be able to do will condition us and the characteristics of the camera will also condition us in part.
What characteristics would we look for in a lens of this type? Summary:
With a minimum equivalent focal length of about 300mm.
Greater focal length translates into a narrower viewing angle, that is, we could see it as more ‘reach’ to capture animals that are far away in detail.
There is a preconceived idea that with a telephoto lens we will be able to photograph birds from kilometers away. This is not like this. To get quality photos we have to be at a very short distance: we are talking about several meters in the case of small birds and tens of meters in the case of medium and large birds. As the distance increases, the quality worsens due to atmospheric effects (suspended dust, humidity, thermal currents…) and we would also need much longer focal lengths to get a close-up.
The birds have a very fine texture and very beautiful patterns on their plumage.
Normally we are going to photograph the animal from a certain distance and on many occasions we are going to make a cut in editing (to stay with a close-up of the main subject).
The better the sharpness of the objective (acutance / contrast) the more detail of the bird we can capture in our photo.
This mostly has to do with shutter speed.
Birds are animals with continuous and fast movements, even when they are perched.
We need very high shutter speeds to freeze those movements and get super sharp images (to avoid shaky areas of the image). The same applies to photography of birds in flight. In bird photography it is very common to work with speeds above 1/1000s.
The point is that to get a good exposure with such high shutter speeds we need a lot of light on the sensor.
The larger the aperture of the lens (small F numbers) the more light the sensor will be able to capture and the ISO of the camera will not need to be raised. The maximum aperture of the lens can also limit the effectiveness of the camera’s focus system, the focus system also needs a lot of light to function properly.
The focus system depends on the lens + camera combination. If the camera has a perfect focusing system but the lens has some inertia or a slow motor, the weak link that is going to limit us is going to be the lens.
Higher-end telephoto lenses often include some sort of focus range selector or limiter.
For example, if we are going to photograph small birds from a hide that are going to be perched 4 meters away, we would put the selector in the focus range of nearby objects.
If we are going to photograph birds in flight, we would put the selector in the focus range of nearby objects. The range limiter optimizes the response time of the focusing system.
Optional features:
On telephoto (long focal length) lenses, an optical stabilizer built into the lens tends to work much better than a stabilizer built into the camera sensor.
The stabilizer only helps us when we use the camera freehand. With the camera on a tripod or panning, it is often advisable to disable it (it depends on the camera).
On the other hand, the optical stabilization system always introduces a small loss of optical quality (they are mobile optical elements inside the lens), so you have to assess which aspect is most important to you.
If you’re just starting to use long telephoto lenses and aren’t very experienced, I think a stabilized lens will give you a little more leeway in certain situations. The loss of sharpness that the stabilizer can introduce is minimal and there are about 1000 external factors that will affect the quality of your photos the most in this type of photography.
Fixed lenses give a plus in optical quality and usually offer a larger maximum aperture.
Zoom lenses are more versatile. Many times we have to stay still in one position and we don’t know in advance where the bird is going to be placed. With a zoom lens we can play a bit with the frame. With the fixed objective we only have that angle of vision.
To get started with bird photography I would recommend a telephoto zoom lens. It is true that in the end we tend to use it in the longest focal lengths in any case, but it gives us more room for manoeuvre.
When you have a little more experience, it may be worth making the leap to a fixed lens to gain that little extra in optical quality and aperture.
They allow to increase the equivalent focal length of our objective. Standard teleconverters are usually 1.4x and 2x.
The operation is very simple. They act as an intermediate optical element. They are placed between the lens and the camera. If we have a 300mm objective, by placing a 1.4x multiplier on it we would have an equivalent focal length of 420mm. If we put a 2x multiplier the equivalent focal length would be 600mm.
Logically they have their disadvantages:
In general, they are only recommended for lenses with a large aperture: f/4, f/2.8…
The 1.4x teleconverter reduces the aperture by 1 stop. For example, an f/4 would become f/5.6.
The 2x teleconverter reduces the aperture by 2 stops. An f/4 lens would become an f/8.
For a given system (a mount) not all extenders are compatible with all lenses and with all cameras. In most cases the limitation is in the camera’s ability to focus at certain apertures (the phase detection focusing system of SLRs needs a certain minimum aperture to work correctly).
We could use the lens with manual focus, but for this type of photography it is difficult to get good results without the help of autofocus. In other cases there may be physical limitations, there are teleconverters that include protruding optics and could hit the optics on the back of some lens models.
Today all digital cameras offer excellent image quality. The point is that for this type of photography we are going to put the camera very close to its limits in some cases.
It is not so much about image quality as about versatility and the number of ‘good’ photos that we can get (keeper rate) in one session.
Let’s see then the most important features:
A good continuous focus system, especially if we are going to take photos of birds in flight or animals in motion in general. Phase detection focus systems usually work best in continuous focus because they ‘know’ the distance to the subject, whereas contrast detection has to constantly test to optimize contrast.
Hybrid systems combine the best of both technologies and are usually fast and reliable. It is also important that the camera allows you to configure the focus areas in a flexible way. Especially for photography of birds in flight, it is very difficult to work with point focus in the central area and follow a bird in flight (there are photographers with a lot of experience who are able to follow the movement of the bird and keep the focus point where it is). want).
In general it is much more efficient to use a multi-point focus zone that covers a certain area of the frame, to try to always keep the bird within that active zone. On the other hand, if the area is too large, we run the risk of losing focus if another bird crosses or if the background where it is flying contains elements with a certain texture (rocks, vegetation, etc.)
In slightly higher-end cameras you can customize some parameters of the focusing system: the reaction times of the system (sensitivity), the inertia or behavior with acceleration / deceleration of the subjects that we are going to photograph, or the behavior of the points of focus when we choose a group or a focus area that includes several points.
It is a very important feature in action photography in general. For example with birds in flight it is literally impossible to synchronize the shot with the position of the wings, etc. using single shot. To increase the probability of ‘hitting’ you have to take a burst shot and then select the most attractive photo in the sequence.
For perched birds, the burst is not usually so important unless we want to capture, for example, the moment in which it takes flight or some movement or special situation (capturing an insect, etc.). There are cameras that include some type of early shooting function (such as Olympus Pro Capture mode). With this function, the camera starts shooting with the shutter button pressed halfway and stores the photos in the internal buffer.
When we finally hit the shutter button to start the actual burst, the camera is left with part of the sequence it had shot earlier. In this way we can capture actions that happen so fast that they exceed the human reaction time.
Directly related to burst shooting. It matters both the maximum burst speed (number of photos per second) and the time that the camera is able to maintain that speed and the average speed that it can achieve over, say, 4-5 seconds.
And it is also very important that the time it takes for the camera to empty the buffer is as small as possible since most of the cameras are blocked (we cannot take photos or operate the camera) during this process.
On many occasions we will have no choice but to raise ISO to maintain a sufficiently high shutter speed. Keep in mind that typical shutter speeds will be on the order of 1/1000s or faster in many cases.
A camera that offers a good signal-to-noise ratio with high ISOs will give us more versatility, especially in situations where light conditions are not perfect.
Other features to consider:
A sealed camera is going to give us more peace of mind especially when conditions are bad. Keep in mind that we are going to spend many hours in the field and we are not always going to have perfect weather.
Also, even if you do not plan to photograph if it is raining, you can find yourself in humid situations, near water (possibility of splashes), with dust, etc.
Remember that for a sealed camera to be protected, the lens also has to be sealed.
Very important especially when we use the camera freehand with large objectives. When we use telephoto lenses, the weight of the assembly, the center of gravity, is normally shifted towards the front.
The left hand holds the lens and carries most of the weight (it works as a tripod when we shoot freehand).
The right hand holds the camera and we need some freedom of action to access the configuration parameters, but at the same time a good grip to direct the camera, frame and shoot in a matter of seconds.
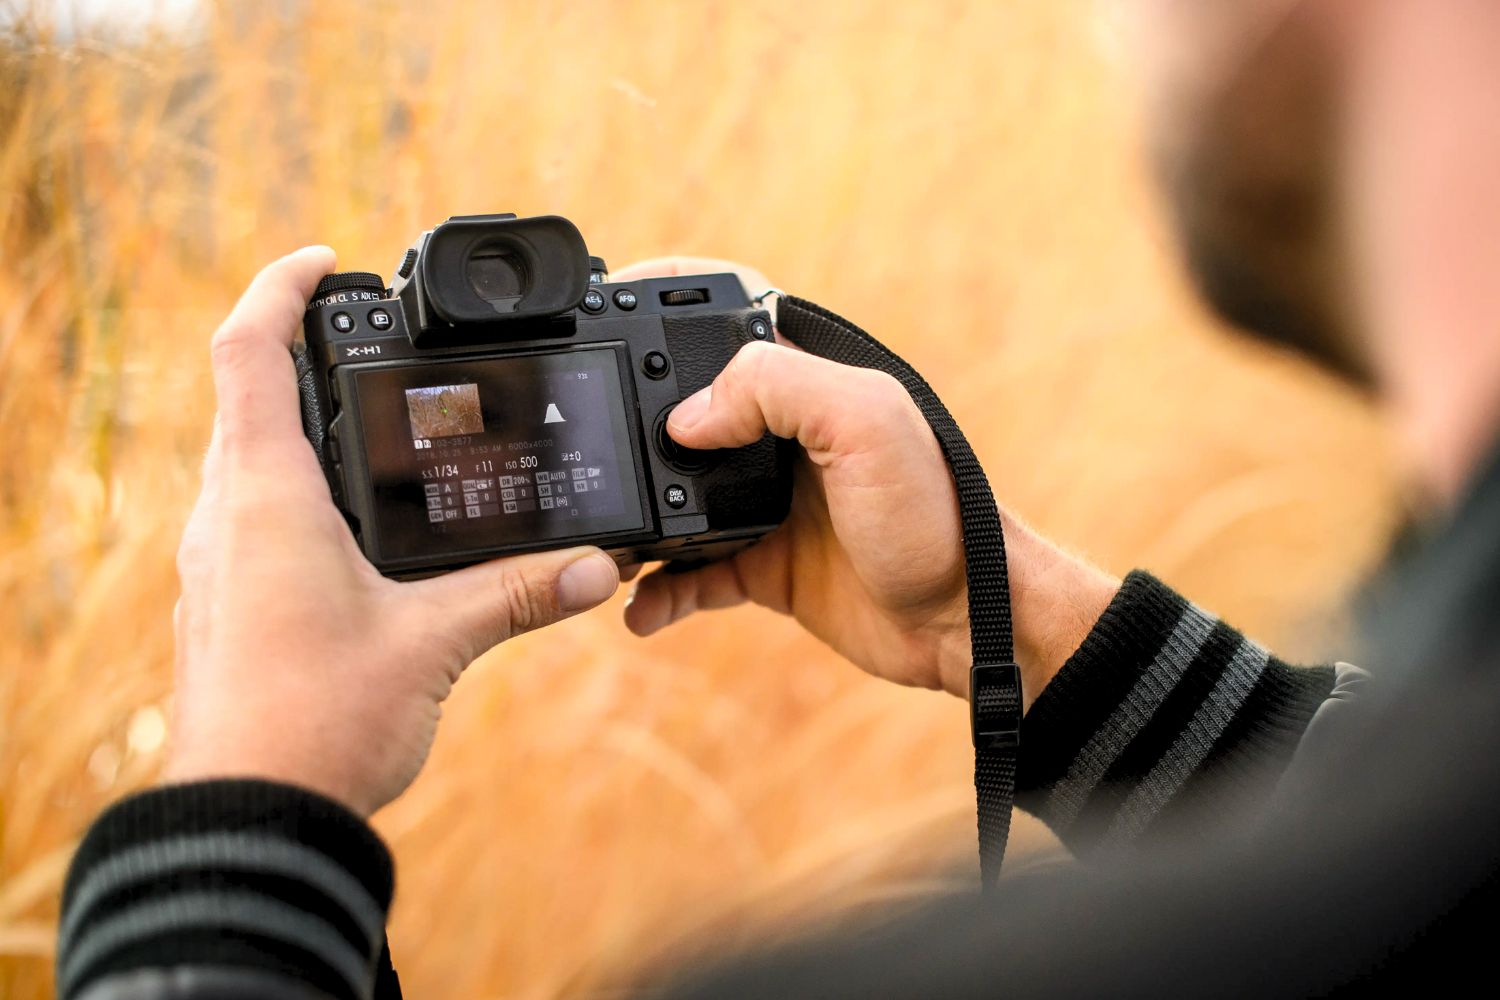
In action photography, birds, animals… many times you have to make very quick decisions and make configuration changes on the fly. If we have to access a menu to configure an X parameter every 2 minutes, it is very possible that we will lose many interesting photos.
Most interchangeable lens cameras have the basic exposure management dials and controls. As we go up the range, cameras tend to have more customization options and more buttons and quick access controls.
An interesting option is that the camera has the possibility of disassociating the focus button from the shutter button (back button focus).
In many cases it is more comfortable and more efficient to activate the focus from an external button. In this way, the shutter button remains only for that, to activate the shutter, the camera does not have to do intermediate actions at the moment of pressing the button (refocus, measure the light…)
The size of the sensor will mainly influence two things:
Focal length is a characteristic of the lens, independent of the camera it is used on. In photography and video, the focal length gives us an idea of the viewing angle (framing). For historical reasons, the Full Frame sensor / 35mm film is taken as a reference.
For example, a 300mm lens on a Full Frame sensor camera gives us a horizontal angle of view of about 7 degrees.
If instead of a Full Frame sensor we place a smaller one, for example an APS-C sensor, the image will be projected on a smaller surface. There is a crop with respect to the image that a Full Frame sensor would give. We have a frame that would correspond to what we would have in Full Frame if we used a lens with a longer focal length.
To further relate focal length and angle of view (photographers are more comfortable with focal length) we use the concept of equivalent focal length.
For example, the 300mm lens on an APS-C sensor camera would have an equivalent focal length of about 450mm (300 x 1.5 which is the crop factor of an APS-C sensor). Those 450mm offer a viewing angle of about 4.5 degrees. So using a smaller sensor has the advantage that it gives us more ‘reach’, it gives us a larger equivalent focal length.
On the other hand, the quality of the image is related to the amount of light that the sensor receives.
A larger area means more light (total photons received across the sensor assembly) and a better signal-to-noise ratio. Technology being equal (sensor technology is a very important factor), a larger sensor will deliver an image with a better signal-to-noise ratio. This is only noticeable when the light conditions are not perfect or when we have to raise ISO.
For bird photography, a larger sensor gives us an advantage when the light conditions are not perfect or when we use a lens with a small aperture (for example, if we want to achieve a greater depth of field by closing the diaphragm a little).
– Virtually any interchangeable lens camera, SLR or EVIL, can be used for bird photography using the appropriate lens.
– The objective is usually much more important than the characteristics of the camera.
– With their limitations, superzoom bridge type cameras can also be a good option, especially for photography of perched birds.
– The characteristics of the camera, especially the burst shooting speed and the performance of the focusing system, will help us increase the chances of getting a good photo, especially if we try to take pictures of birds in flight.
– Cameras with Full Frame sensors: better behavior at high ISOs, more versatility (being able to raise more ISO to have an adequate shutter speed), but larger, heavier and more expensive lenses to achieve the same range.
– Cameras with APS-C / Micro 4/3 sensor: the crop factor plays in favor (more range with a certain focal length), smaller, lighter and cheaper lenses. Although in some systems we will only find long telephoto lenses designed for Full Frame sensors, the APS-C cameras of those systems will give us more range.
If we do photography of perched birds we will not need these very specific characteristics (burst and focus), although birds in particular are very fast moving animals, especially the smallest ones.
There are times when only shooting in bursts will we be able to achieve that pose we were looking for (discarding many other photos from that sequence). In this type of photography, many photos are discarded and it is difficult to get a perfect photo: focus, framing, pose of the animal, background…
Therefore, the most specialized cameras in sports and action photography are the ones that will give us the best performance in bird photography. Better performance here means a higher percentage of ‘hits’ or good photos per session. With a non-specialized camera we can also get very good photos of birds, but depending on the situation we will surely have fewer useful photos per session (compared to a camera with better performance).
Regarding image quality (electronic noise), in good light conditions all cameras: bridge, reflex, EVIL can give excellent quality. As light conditions worsen, cameras with larger sensors can raise more ISO while maintaining an acceptable level of quality.
On the other hand, as we have seen, larger sensor cameras need larger, heavier and more expensive lenses to achieve the same range.
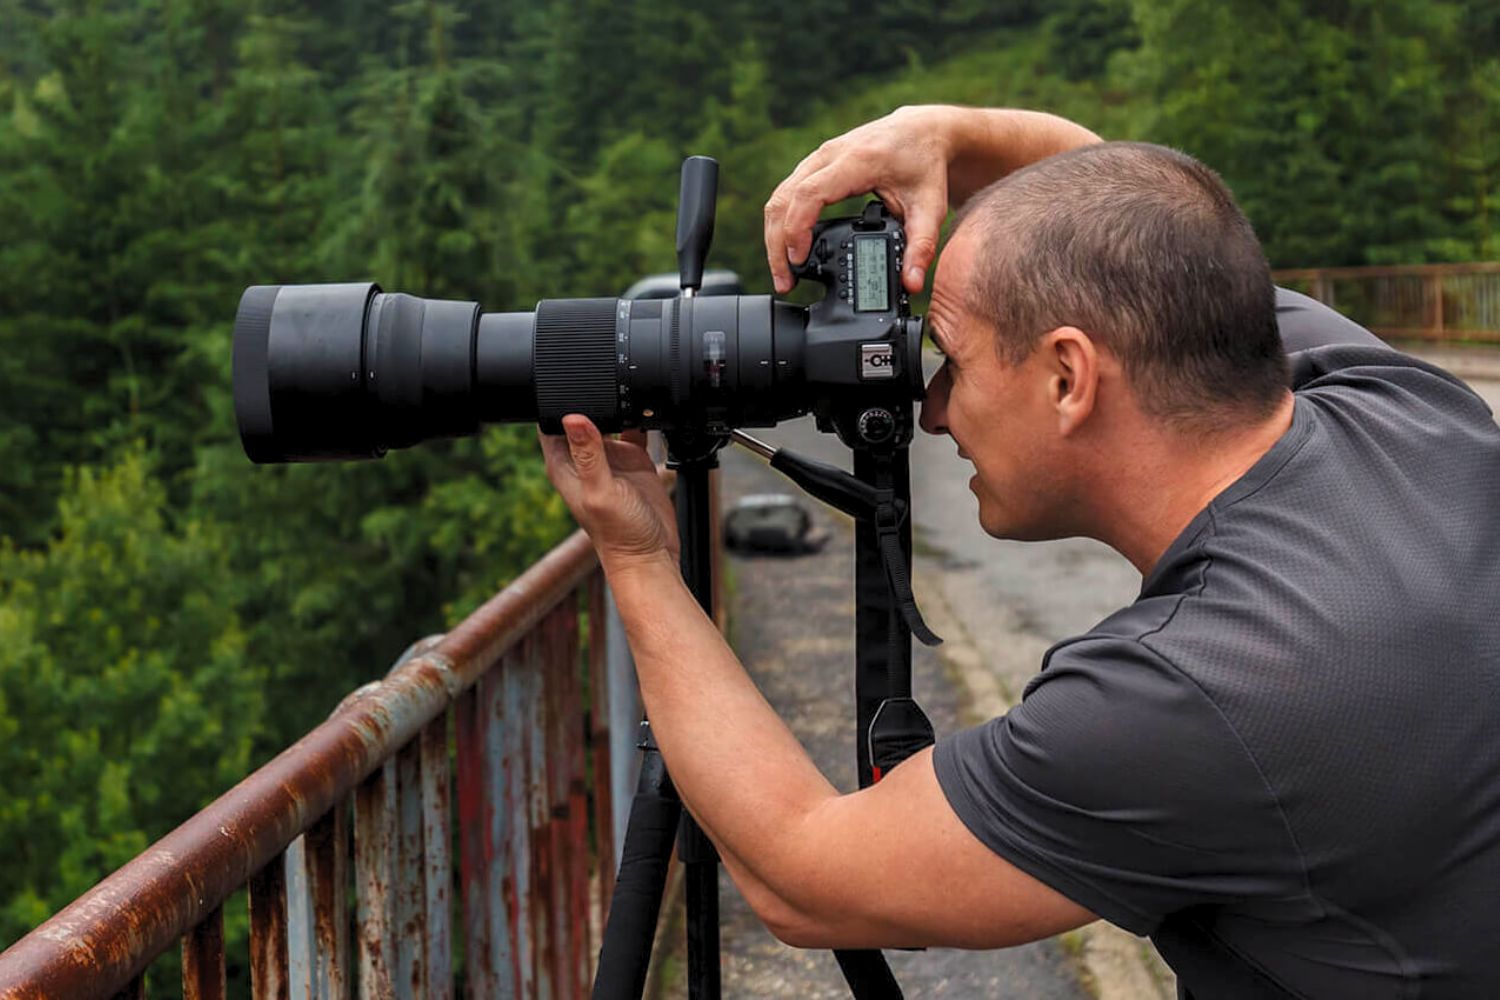
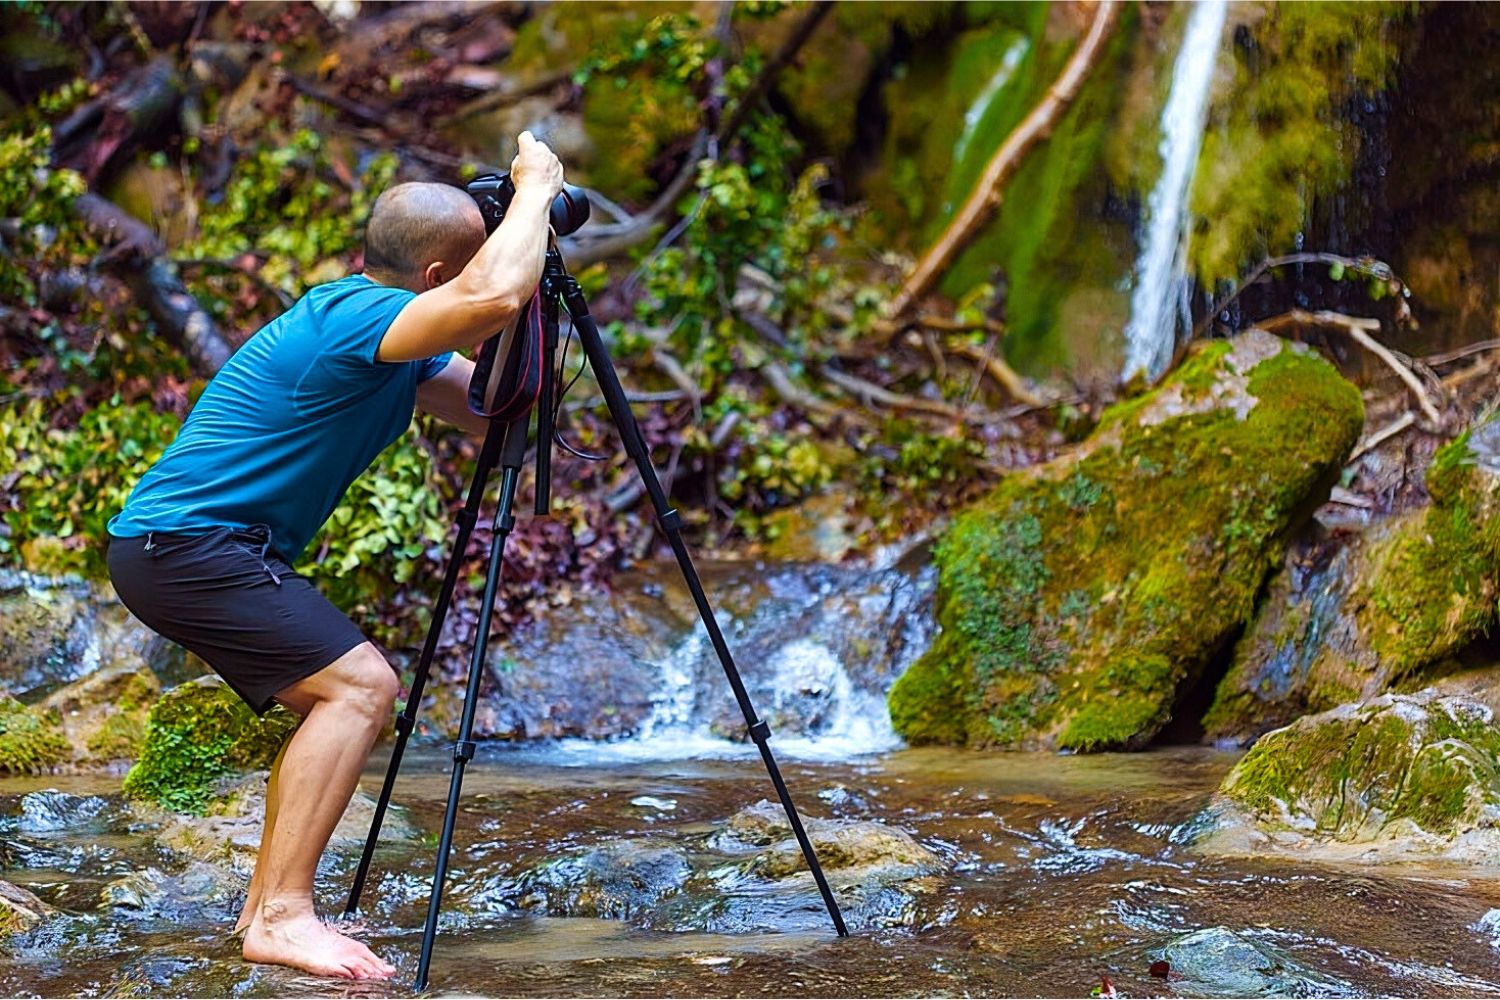
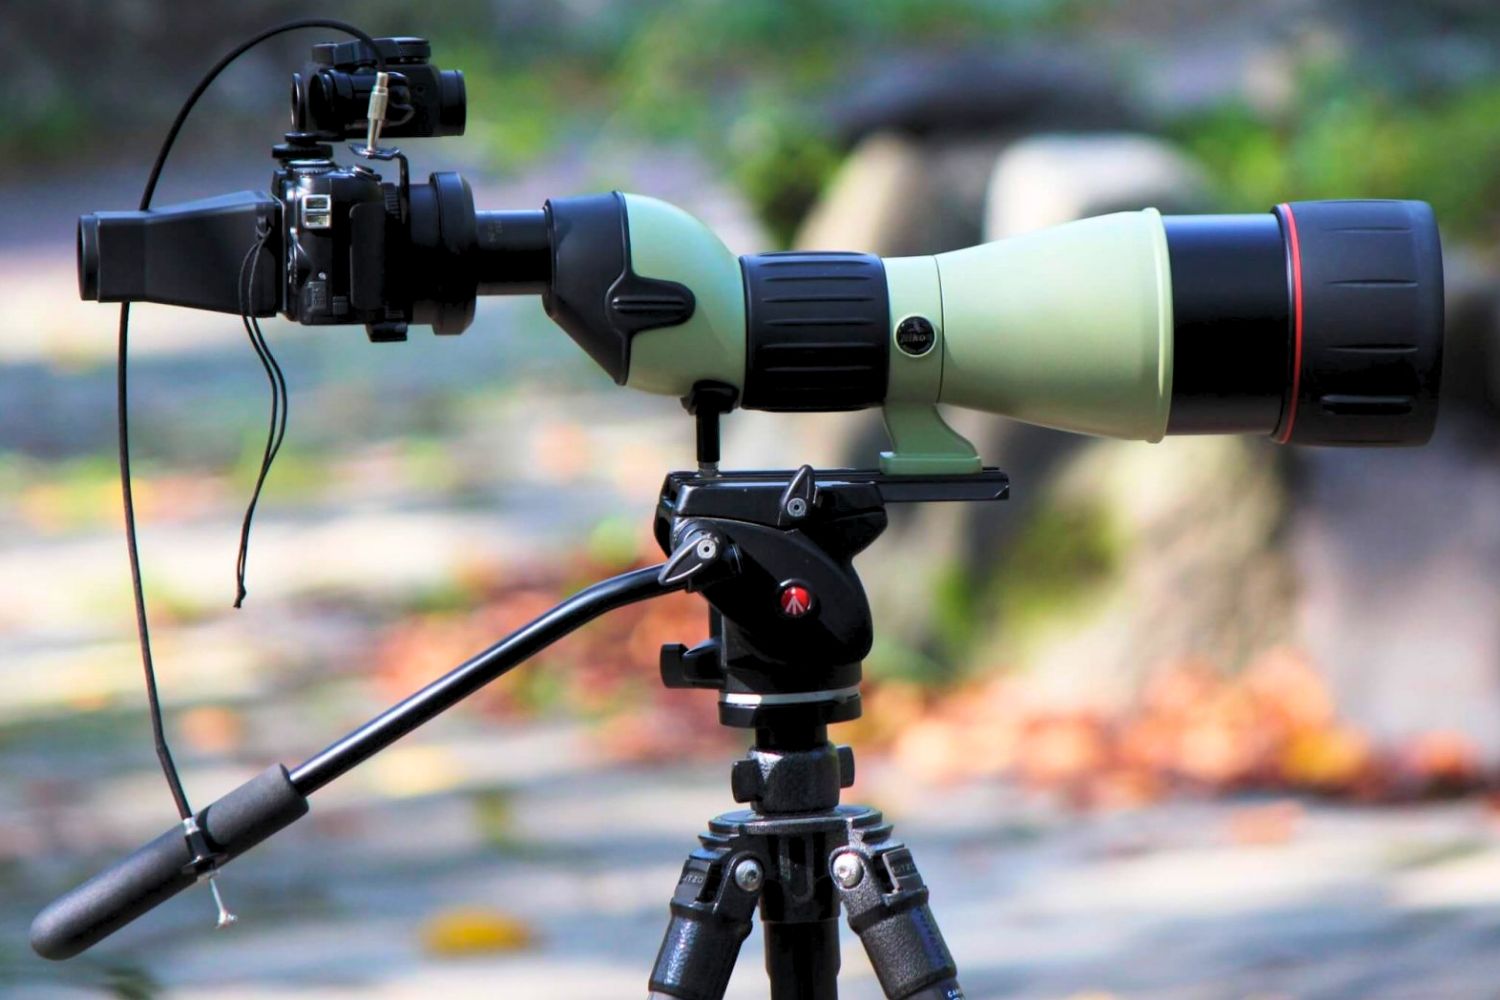
All tripods look good until you attach a camera with a telephoto lens to them. Working with long focal lengths, any slight movement or vibration of the equipment becomes an earthquake in the image.
To use long telephoto lenses, above 300mm, we need a very very robust and stable tripod that absorbs any type of vibration.
A robust and stable tripod is usually equal to a large and heavy tripod. I think it is impossible to have a very light tripod that we can transport with a small size (legs with many sections), and that is also very stable when using telephoto lenses. Normally it is important that the tripod is high enough, to be able to work with the camera with a comfortable standing position.
Tripods without a central column are usually more stable, they would be equivalent to a tripod with a column, with the column located in the lowest part, but the fact of not including a column provides more rigidity in the upper part and allows it to be placed practically flush with the ground if necessary.
Tripods without a center column that reach a certain height are usually quite expensive. For example, some tripods widely used in this type of photography are the Gitzo without a central column (the current models without a column would be series 3, 4 or 5 of the Gitzo Systematic) that would be around 1000 euros.
A good value for money option could be a Manfrotto, for example a Manfrotto 055 series. Manfrotto 190 series tripods could also be an interesting option or even 290 series tripods, depending on the balance you are looking for between stability, size and weight.
A tripod with good value for money for a medium-sized team can be this K&F Concept tripod that can be transformed into a monopod.
The head also has to be very robust to leave the frame nailed in the position that we tell it. Keep in mind that a telephoto lens can exert quite a bit of leverage on the ball head. A good ball head could be fine for photography of perched birds or even birds in flight, although it’s usually not the best choice.
For bird photography, especially if you are going to take birds in flight, gimbal or rocker type heads are often used. They are the heads that offer the most flexibility to track animals in motion and also offer a lot of stability if we need to keep the camera in a completely static position.
Bird photography is a very demanding specialty.
Shooting with telephoto lenses requires some experience, which comes with practice.
I think the essential qualities for this type of photography are patience and perseverance, as it can be very frustrating at times.
To start with bird photography I would recommend one of these options:
– Superzoom bridge camera for bird photography.
– You already have an interchangeable lens camera: find a target for birds.
– Camera with APS-C or Micro 4/3 sensor recommended for bird photography.
They are cameras in which the optics cannot be exchanged, it is fixed to the camera.
Generic characteristics of this type of cameras:
– The focal range is usually huge.
Longer focal lengths (above 1000mm equivalent focal length) would be virtually impossible to achieve on an DSLR / EVIL rig.
– The optical quality is usually quite decent.
They usually include lenses with good optical quality, designed specifically for that camera and that sensor. It must be taken into account that the greater the focal range, the more difficult it is to achieve a certain homogeneous optical quality throughout that entire range, there is usually a sweet spot, a combination of focal length and aperture, which is the one that offers the most sharpness. For long medium focal lengths, the quality is usually acceptable.
– The sensor is usually small.
Most use a 1/2.3″ (6.17 x 4.55 mm) sensor. Some models use a 1-inch sensor.
– The focus system in general is slower.
In general it is much slower than generic SLR / EVIL and much slower than specialized cameras for sports and action photography. They are cameras that can be used perfectly for photography of birds perched or in predictable positions, but it would be very difficult to capture birds in flight.
The main advantage of superzoom cameras is that for a reasonable price we have complete equipment, relatively light, very flexible and versatile, with very long equivalent focal lengths that will give us a great ‘reach’.
The disadvantages:
– We are only going to get photos of very good image quality in good light.
When the light drops a bit and we have to raise ISO to maintain the shooting speed, the image quality suffers.
– Surely they will limit us for birds in flight, since their focus system is not usually very fast
– In some models we can limit the maximum shutter speed.
In general, they are perfect cameras for ‘birding’, that is, for bird watching and collecting photos for registration and documentation.
Excellent quality photos can be achieved if the conditions are right.
Keep in mind that if extreme focal lengths are used to take photos of subjects that are far away, the chances of obtaining an image of a certain quality drop considerably, and this applies to all cameras and equipment, including the highest ranges.
The weather conditions have a big influence, the risk of camera shake (any vibration of the camera will generate a blurred image) and also the difficulty of achieving a perfect focus in those conditions.
There are people who try a camera of this type with the maximum focal length, freehand, and are surprised to see that the photos are not perfect… No camera could get a good photo in those conditions.
Would you recommend a superzoom bridge camera for bird photography?
Yes. Knowing their limitations you can get a lot out of them.
Due to the size, weight and price of the equipment, these are cameras that can perfectly cover the needs of most bird enthusiasts.

We are going to assume that it is a mid-range or entry-level camera, with an APS-C or Micro 4/3 sensor.
If you already have an interchangeable lens camera and want to try bird photography I think the most reasonable thing to do would be to start with a simple zoom lens in the 300mm range.
A 300mm on an APS-C sensor camera would have an equivalent focal length of about 450mm, which is pretty good. In a Micro 4/3 camera like Olympus or Panasonic, 300mm would correspond to a 600mm equivalent focal length.
If you already have experience you can go to a longer telephoto lens, in the 500-600mm range. Always keep in mind that as we increase the focal length it is more and more difficult to achieve good results and we will need more experience.
Also remember what we have discussed. It is not about taking pictures of animals from miles away. It is about finding a way to have the animal as close as possible: using hides, from observatories and bird viewpoints, approaching natural drinking troughs or feeding or rest areas, preparing feeders or drinking troughs… But always respecting the animals and respecting the natural environment through which we are going to move.

If you are very clear that you like the photography of birds or wild animals, I think it is worth investing in a camera that gives you that extra in issues such as focus and shooting speed.
We are going to see some combinations that would give us very good results for a reasonable price.
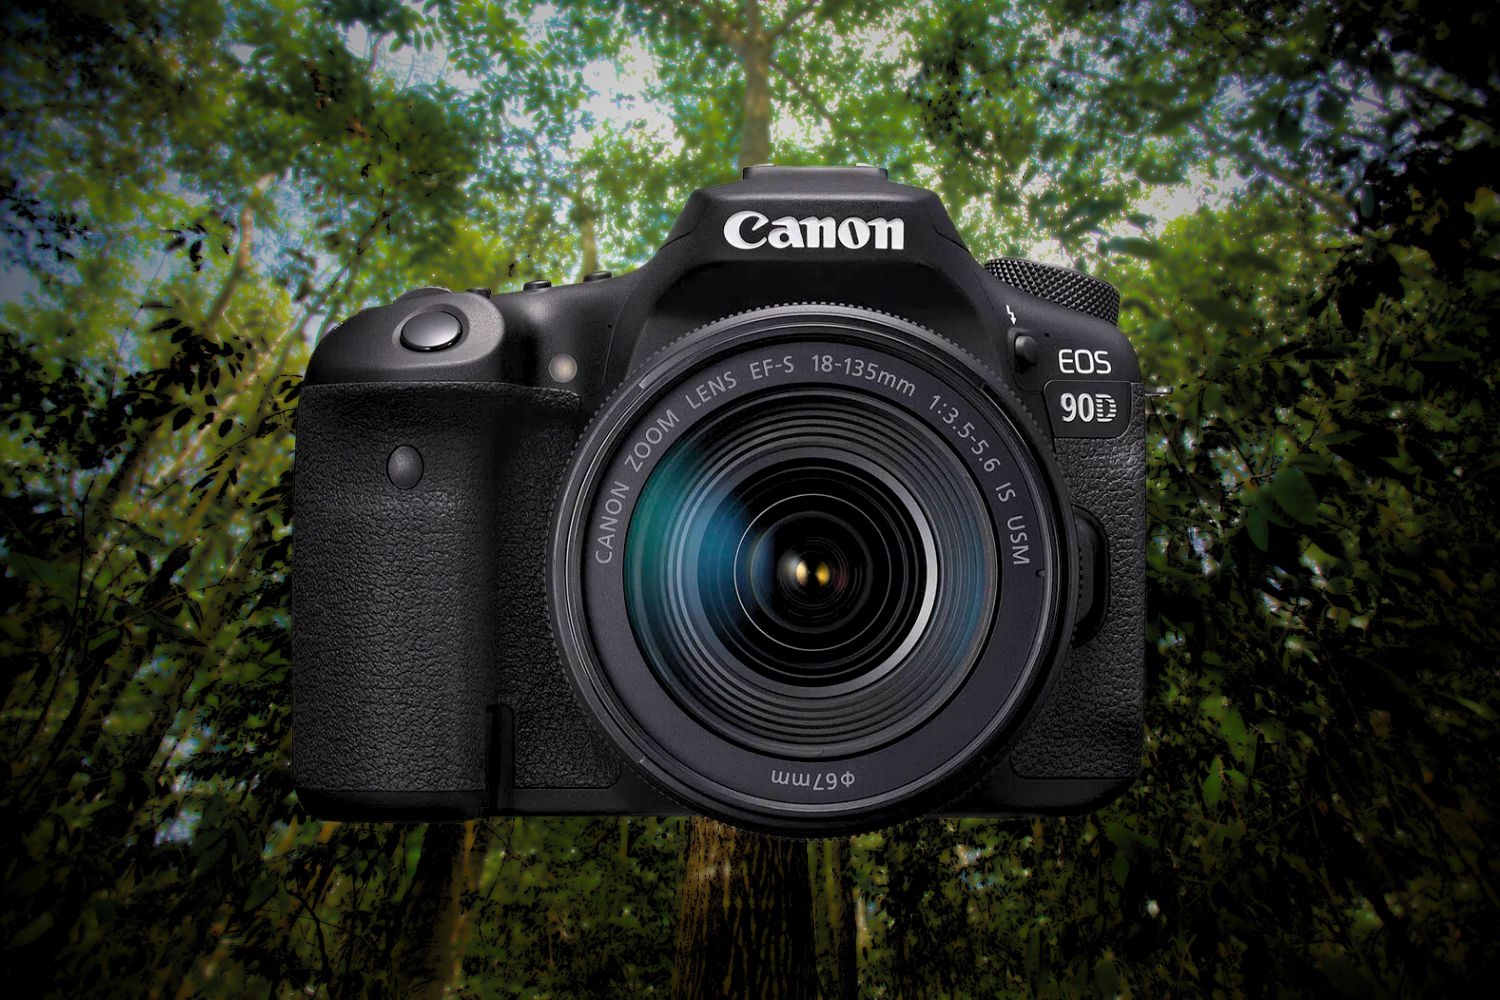
According to Canon, the EOS 90D would be the evolution of the Canon 80D and the Canon 7D mark II (the latter has been one of the most widely used cameras for bird photography).
The 90D is one of the most complete APS-C sensor DSLRs on the market: excellent for video and photography. We could say that it is a general purpose camera that also has very good features for sports and action photography, and therefore it is a very good option for bird photography. The main focus system for photography (when we use the optical viewfinder) allows a very precise configuration (tracking sensitivity, acceleration, custom tracking zones…) which is very useful especially for photography of birds in flight.
Burst shooting can go up to 11 fps with single focus to the first photo or 10 photos per second with continuous focus, maintaining focus between shots.
Recommended objectives:
– Tamron 150-600mm f/5-6.3 SP Di VC USD G2.
– Sigma 150-600mm f/5-6.3 Dg OS HSM Contemporary.
– Canon 400mm f/5.6 L USM.
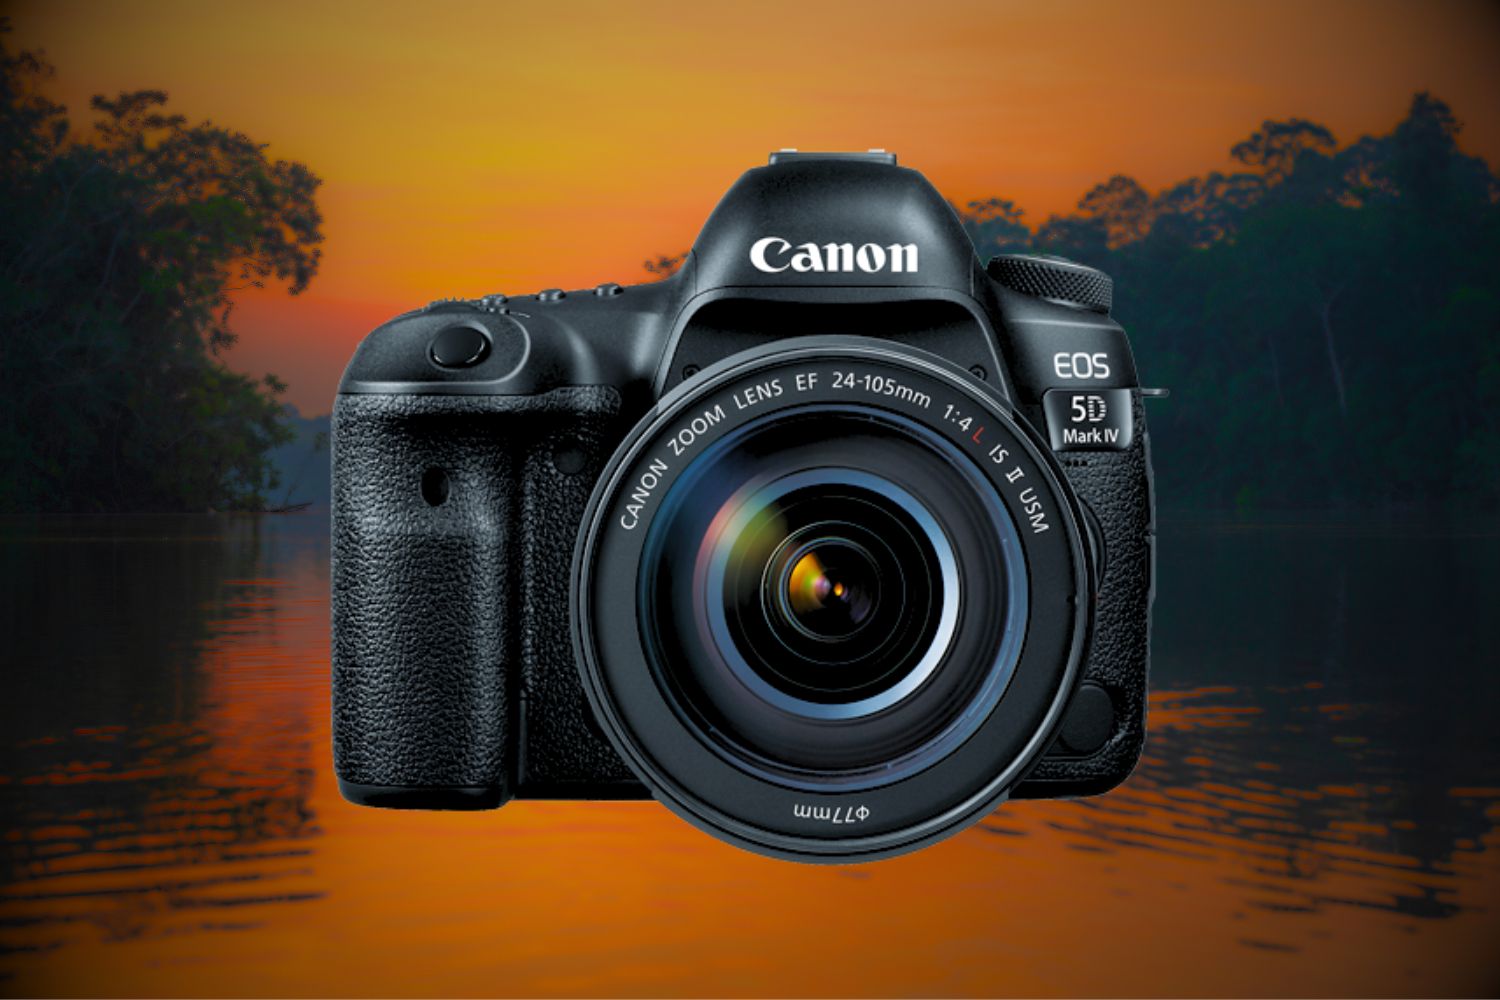
The Canon EOS 5D Mark IV is the best DSLR camera for bird photography. This is a great option if you’re serious about bird photography and want your camera to support you as you go from beginner to advanced.
You’ll find that the settings are similar to the Canon 7D Mark III settings for bird photography that produce better shots.
The camera has an ISO range that can be set up to 32,000. It is also relatively light-weight for the body, making it a great all-around option for outdoor photography.
The Canon EOS 5D Mark IV Full Frame DSLR has a 30.4 MP resolution sensor. It also uses a dual pixel CMOS sensor to help provide better autofocus capabilities. The camera includes an LCD monitor that provides a live view when capturing photos.
The monitor provides a touch interface, which improves the overall comfort of the camera. It can also be used to record 4K video content. The device can also be used as a webcam with specific software.
Matching Lens: Canon EF 100-400mm f/4.5-5.6L IS II USM Lens.
Advantages:
– 61-point autofocus system.
– Continuous shooting at up to 7 FPS.
– Great performance in low light.
– Record DCI 4K video.
– The focus point lights up in red.
– 1080p@60p video looks great!
Disadvantages:
– Higher price tag.
– Lacks 8K6 video recording for its price.
– No HDMI 4K output.
Type: Full Frame DSLR.
Sensor: 30.4MP.
Frames per second: Up to 120.
ISO range: 100-32000.
Weight: 1.76 lbs.
Video: 4k Ultra HD 2160p.
Sensor resolution: 20.3 MP Maximum video resolution: FHD 60 FPS Battery life: 205 captures Weight: 2 kg.
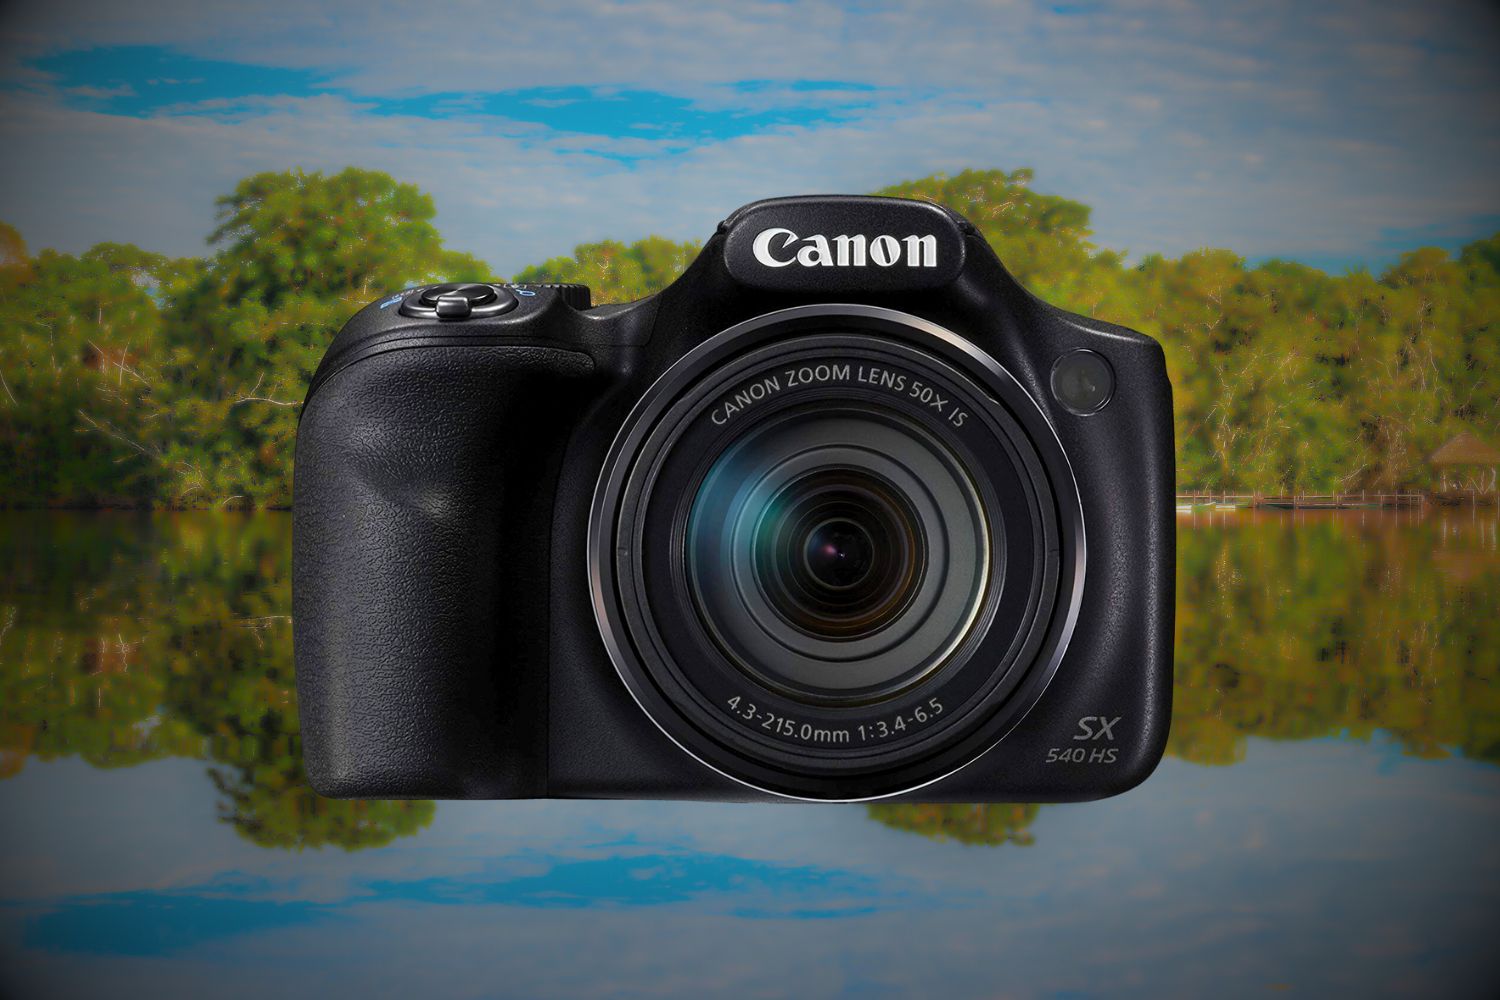
The Canon PowerShot SX540 has one of the longest zooms you’ll see on a compact camera. This makes the body a bit heavy, but the weight and larger size also help to develop a more stable grip when used to target far away birds.
With a 1200mm equivalent telephoto lens you could photograph the Moon. This 50x optical zoom combined with an image stabilizer gets as close to birds in flight as few cameras in this category.
This camera will give you FHD 60 FPS video that is, despite the camera’s age, surprisingly usable. It also records stereo sound with its built-in microphone, allowing you to pick up ambient sounds while shooting a bird in the distance.
The battery life is rated at 205 shots, so be sure to bring spare batteries on your excursions. This is one of the first generation compact cameras, so the battery life is not impressive. That said, it’s also cheaper, which makes up for the loss in battery life.
This camera is pretty old by today’s standards, but its 1200mm zoom gives you a range that would cost thousands of dollars to get on modern compact cameras. If you are looking for the best framing and shooting camera for bird watching, this one is absolutely right for you.
Advantages:
– Zoom range 24-1200mm.
– Macro mode 0 cm.
– Capture 4 seconds of video per photo.
Disadvantages:
– Without external microphone input.
– Battery duration.
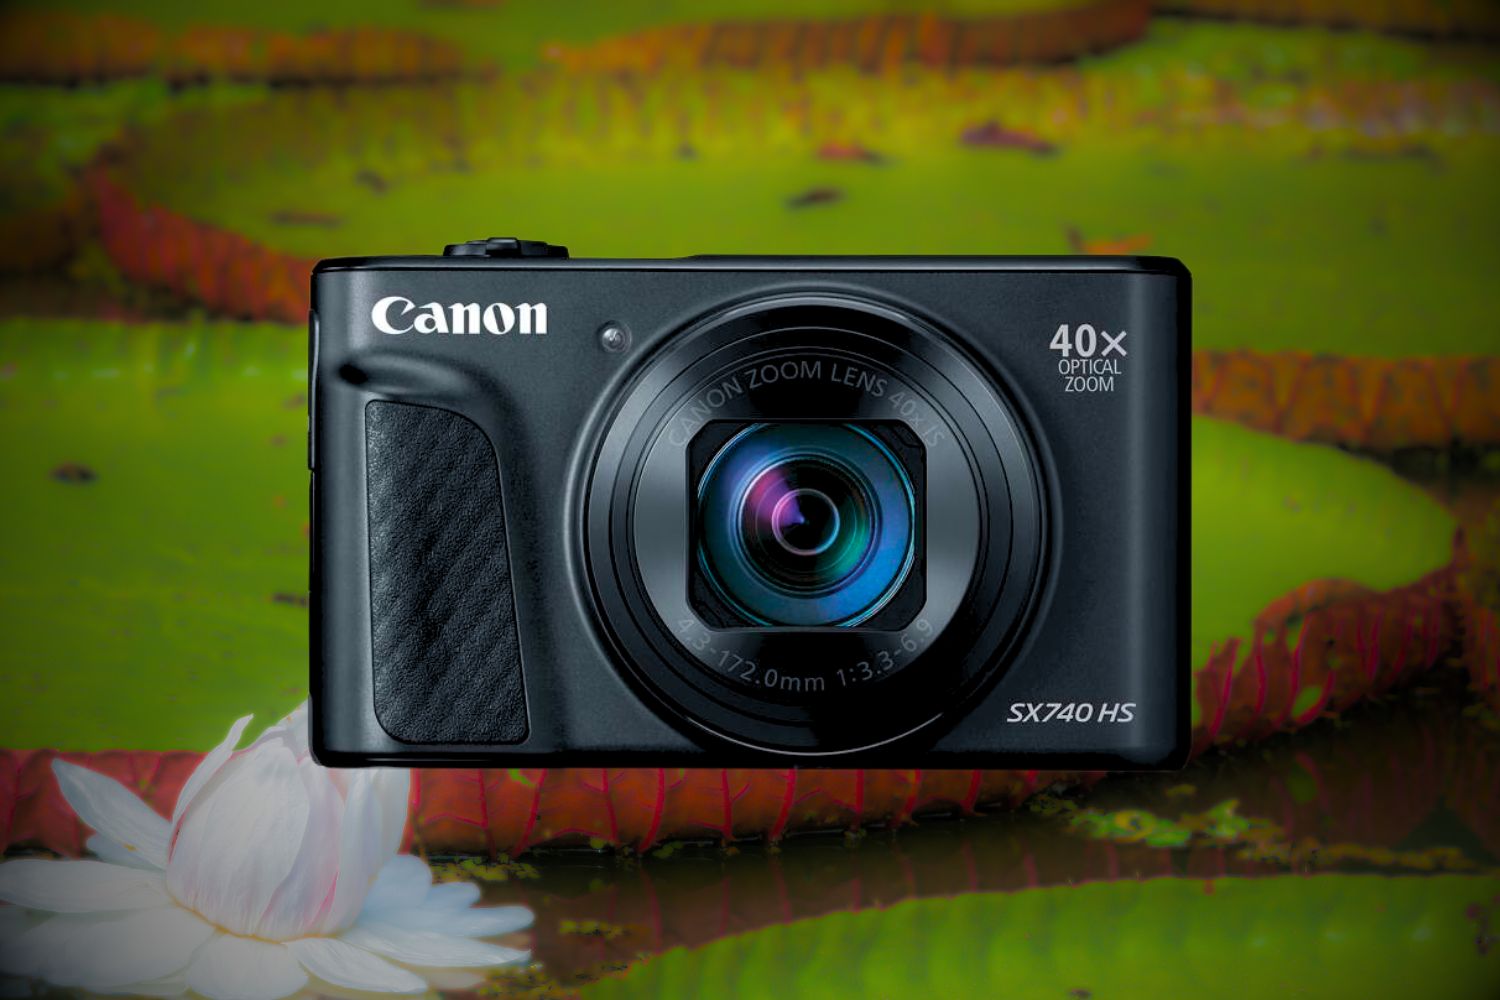
This compact camera is perfect for your trips and outdoor outings. It has a size of only 39.9 mm in depth and 300 grams in weight. It offers you a powerful 20.3 megapixel sensor, a 40x optical zoom (960mm equivalent focal length), a capture rate of 10 fps and 5-axis stabilization.
You’ll get macro shots with a focus distance as close as 1cm, making it ideal for shooting small animals. It also has a Wi-Fi and Bluetooth connection, as well as the option to record videos with 4k quality. In addition, its screen is 180º tiltable to get the perfect shot, even in complicated positions.
Its battery is more durable than most of its competitors. For all this, we consider the Canon Powershot SX740HS as the best compact camera for shooting nature, birds and wildlife.
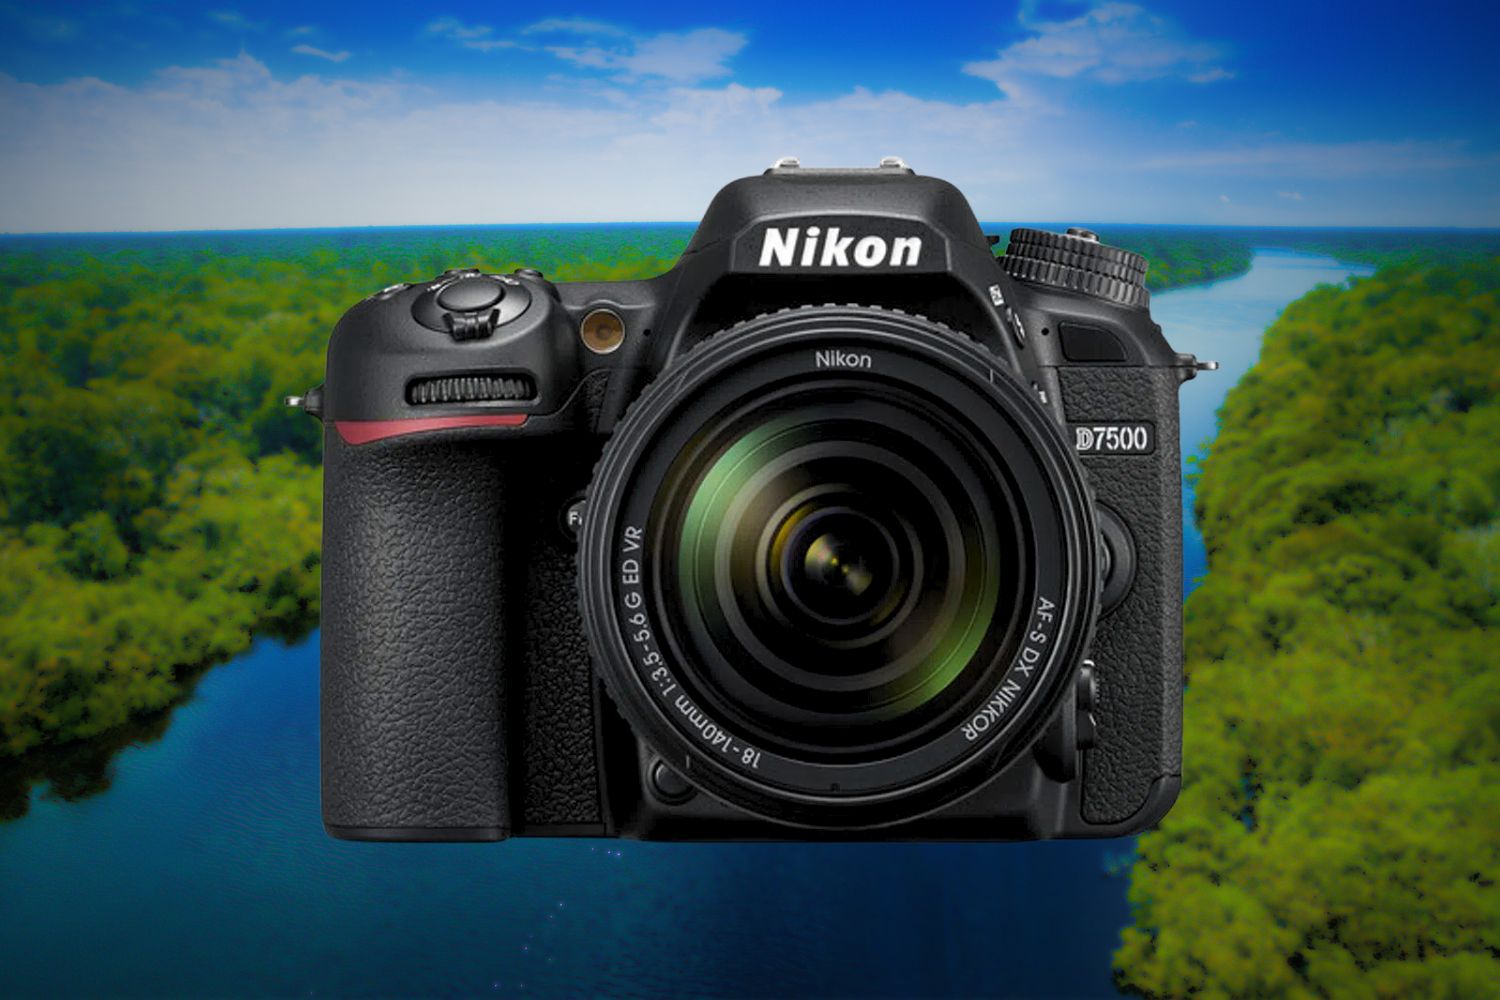
The D7500 is a sort of Nikon D500 (one of the best cameras for sports and action photography) packed into a smaller, lighter body.
Nikon’s D7000 series cameras have probably been the most widely used for bird photography. The image quality offered by the D7500 sensor is exceptional, it is one of the best APS-C sensors on the market. The D7500’s photography focus system is also excellent: 51 phase-detection focus points spread across much of the frame, with 15 cross-type center points (for vertical and horizontal pattern detection).
You can shoot up to 8 photos per second while maintaining focus (continuous focus) between shots. The video image quality is very good but it is a camera limited by its video focus system (bad). If you are looking for a camera for photography in general or bird photography in particular, the D7500 is one of the best options. If you are looking for a camera for photography and video, it is not the best choice from my point of view.
Recommended objectives:
– Tamron 150-600mm f/5-6.3 SP Di VC USD G2.
– Sigma 150-600mm f/5-6.3 Dg OS HSM Contemporary.
16 MP Compact Camera, Black Color. This alternative is ideal for lovers of impossible photos. With its 2000 mm zoom range (83x) you will be able to take incredible photos of the Moon and other very distant objects. At its shortest focal position (24mm), it gives you a maximum aperture of f/2.8. This translates into excellent quality images, even in unfavorable light conditions.
It has an automatic focus system and a burst speed of 7 fps, very useful in your outings to the mountains. Hence, you will have no problem getting good photos of birds and animals in motion. In addition, it allows you to record Full HD videos.
However, keep in mind that it has a weight of 900 grams, which can be a problem when you want to travel with little luggage. Supports capturing RAW images and saving and exporting uncompressed image files in the editing program.
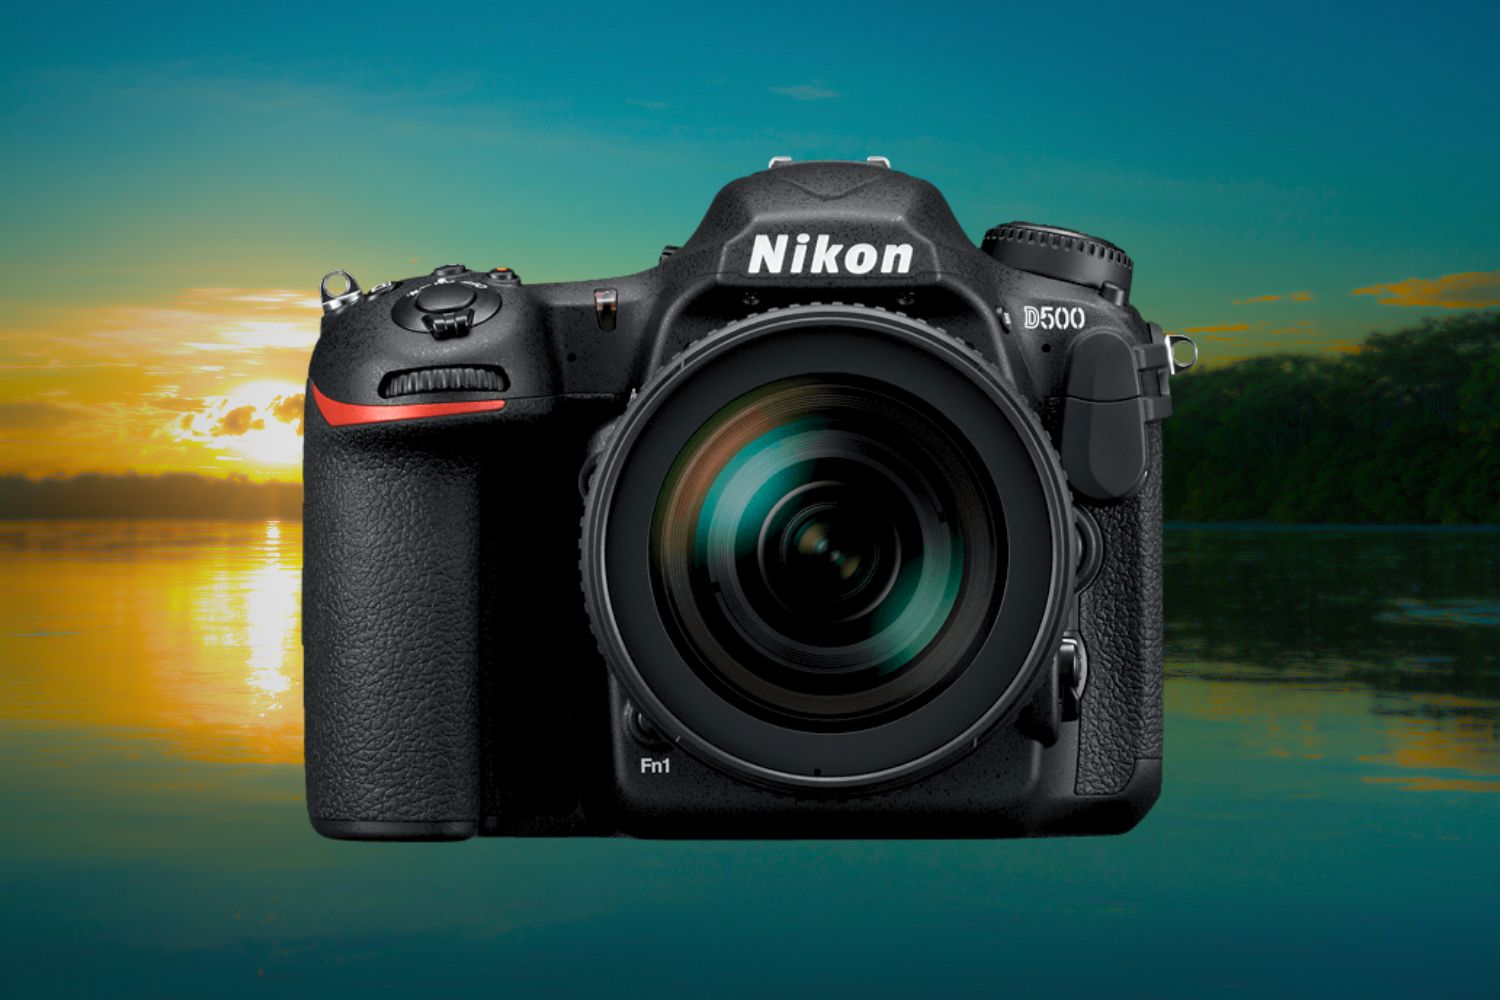
For bird photographers who want a little more control over settings, the Nikon D500 DSLR is a seriously performing mid-range DSLR capable of capturing high-quality photos.
This camera does everything exceptionally well, offering high ISO, fast autofocus, and the ability to capture 10 frames per second.
The ergonomic design and weather resistant seals make this camera ideal for fast action shots in the field.
Paired with the Nikon 200-500mm, the Nikon D500 can take pictures by magnifying images up to 10 times their actual size.
Nikon is one of the most trusted brands among photographers, and for good reason. This camera, coupled with the right lens, will satisfy almost any photographer, regardless of skill level or photographic style.
Matching lens : Zoom lens Nikon AF-S FX NIKKOR 200-500 mm f/5.6E ED VR with auto focus.
Advantages:
– Great first DSLR.
– Fast autofocus.
– Continuous shooting Up to 10 fps.
– Record 4K video.
– Customizable control buttons.
– Wireless file sharing options.
Disadvantages:
– The crop sensor is not ideal for professionals.
– Video AF could be improved.
Type: DSLR
Sensor: 23.5 x 15.7mm CMOS
Megapixels: 20.9
Frames per second: 10 fps at full resolution
LCD screen: 3.2” 2359k-dot tilting touchscreen LCD
AF points: 25, 75 and 153 (3D tracking)
ISO range: 100-51,200
Weight: 1.9 lbs
Connections: Snapbridge, Wi-Fi, Bluetooth, NFC, Hi-Speed USB and HDMI out
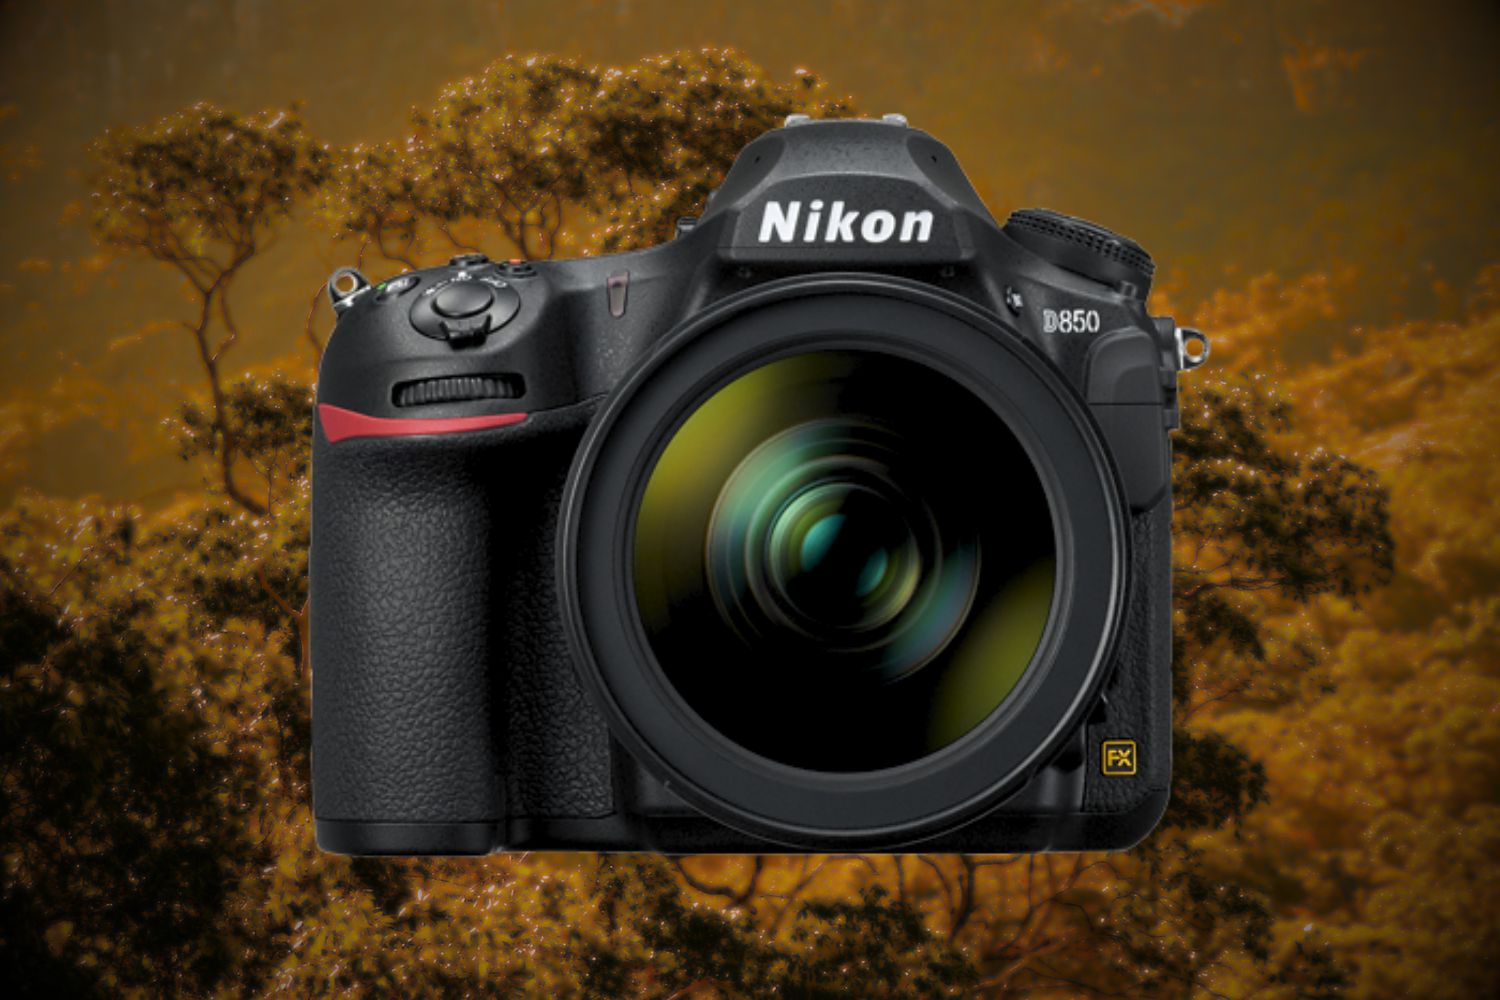
The Nikon D850 FX-Format DSLR Camera is another great option to consider for serious bird photography. It is also among the best cameras for professionals. This camera is great for all conditions, including a low-light environment. It comes with Nikon’s original rear-illuminated full-frame image sensor system.
This produces superior clarity and quality in every shot you take. The camera is capable of capturing still images and videos. The Nikon D850 FX-format DSLR has an integrated 45.7 MP sensor. This produces high resolution photos. It is also capable of recording videos in 4K and 8K6 resolutions. There’s also a time-lapse mode for video content.
The camera features a tiltable touchscreen, making it easier and more convenient to use the camera in various situations. The touchscreen also makes it easy to navigate camera settings and settings for better shooting.
Matching lens : Nikon AF-S FX NIKKOR 200-500mm f/5.6E ED VR zoom lens.
Advantages:
– Excellent for fast moving wildlife.
– Very sharp.
– 4K video recording.
– Time lapse movies.
– 45.7 megapixel sensor.
– BSI full frame design.
– Tiltable touch screen.
Disadvantages:
– Higher price tag.
Type: DSLR
Sensor: 45.7MP
Frames Per Second: 7fps
ISO range: 64-25600
Weight: 2.02 lbs
Video: 4k Ultra HD
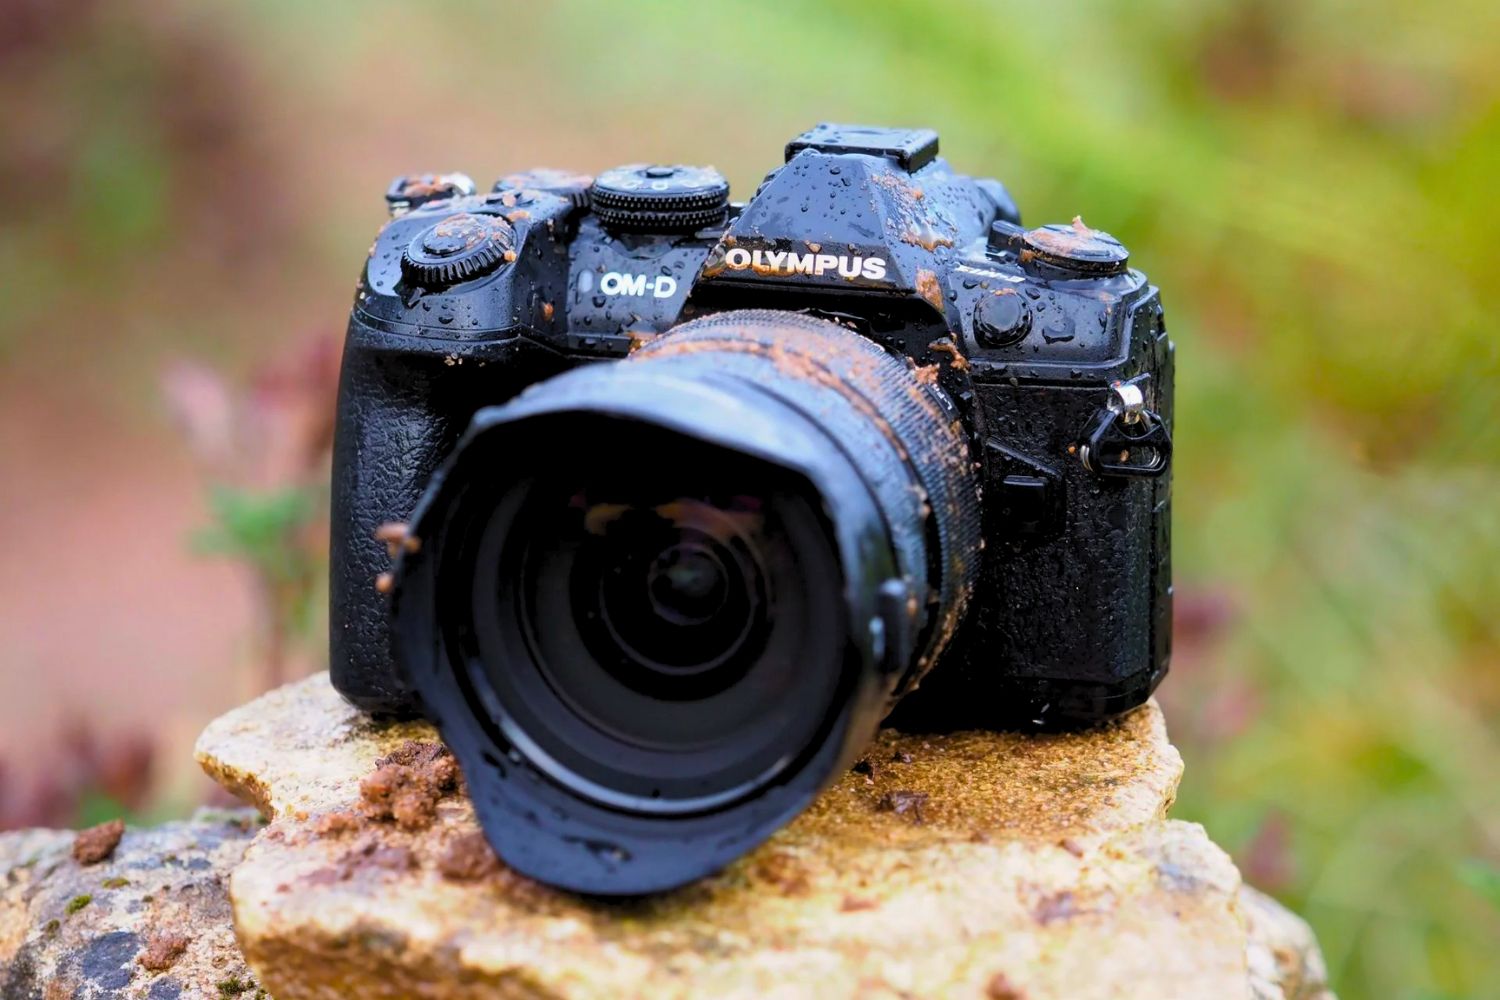
The performance of the Olympus E-M1 mark II is impressive. There are many people conditioned by cameras with a Micro 4/3 sensor (a little smaller than the APS-C sensor), thinking that their performance is going to be much worse, when the reality is that in practice the differences are minimal, perhaps on the order of 1/2 ISO step relative to APS-C.
On a day-to-day basis, you will find very few situations in which this difference will give you a competitive advantage. The E-M1 mark II has a hybrid focus system with phase detection (cross type focus points) and contrast detection. With 121 points distributed throughout the frame. With the mechanical shutter you can achieve 15 fps with single focus and about 10 fps with continuous focus while maintaining focus between shots.
With the mechanical shutter we would have up to 18 fps with continuous focus and up to 60 fps with simple focus. It also has the Pro Capture function that causes the camera to start buffering photos before you press the shutter button (with the button in the middle focus position). In this way, for scenes in which we know something is going to happen but we don’t know exactly when, the Pro Capture function anticipates the user’s reaction time and allows us to have photos that we would otherwise have missed.
Recommended objectives:
-Olympus 75-300mm f/4.8-6.7.
It would be the cheapest option to start with. The 600mm equivalent focal length will give you a good range and the optical quality of the lens is fine. It is a very small and light lens for that equivalent focal length. Keep in mind that it is not sealed, it is part of the Olympus mid-range. And the opening can limit us when we use it in the longest focal lengths.
– Panasonic Lumix G Vario 100-300mm f/4-5.6 II OIS.
Similar to the Olympus 75-300mm, but it would be a bit higher in performance (larger aperture, sealing…). On the Olympus E-M1 it would work perfectly but I wouldn’t have the possibility to use Panasonic’s Dual IS system.
-Olympus 100-400mm f/5-6.3.
It is one of the best options for the EM1 if you are looking for a flexible lens with a good range and an acceptable value for money.
-Panasonic 100-400mm f/4-6.3.
For these types of specialized lenses it is recommended to use a camera and lens combination from the same brand: Olympus with Olympus and Panasonic with Panasonic. However, the Panasonic 100-400mm is going to work perfectly with the EM1, and it is a device that has been used a lot until the release of the Olympus 100-400mm.
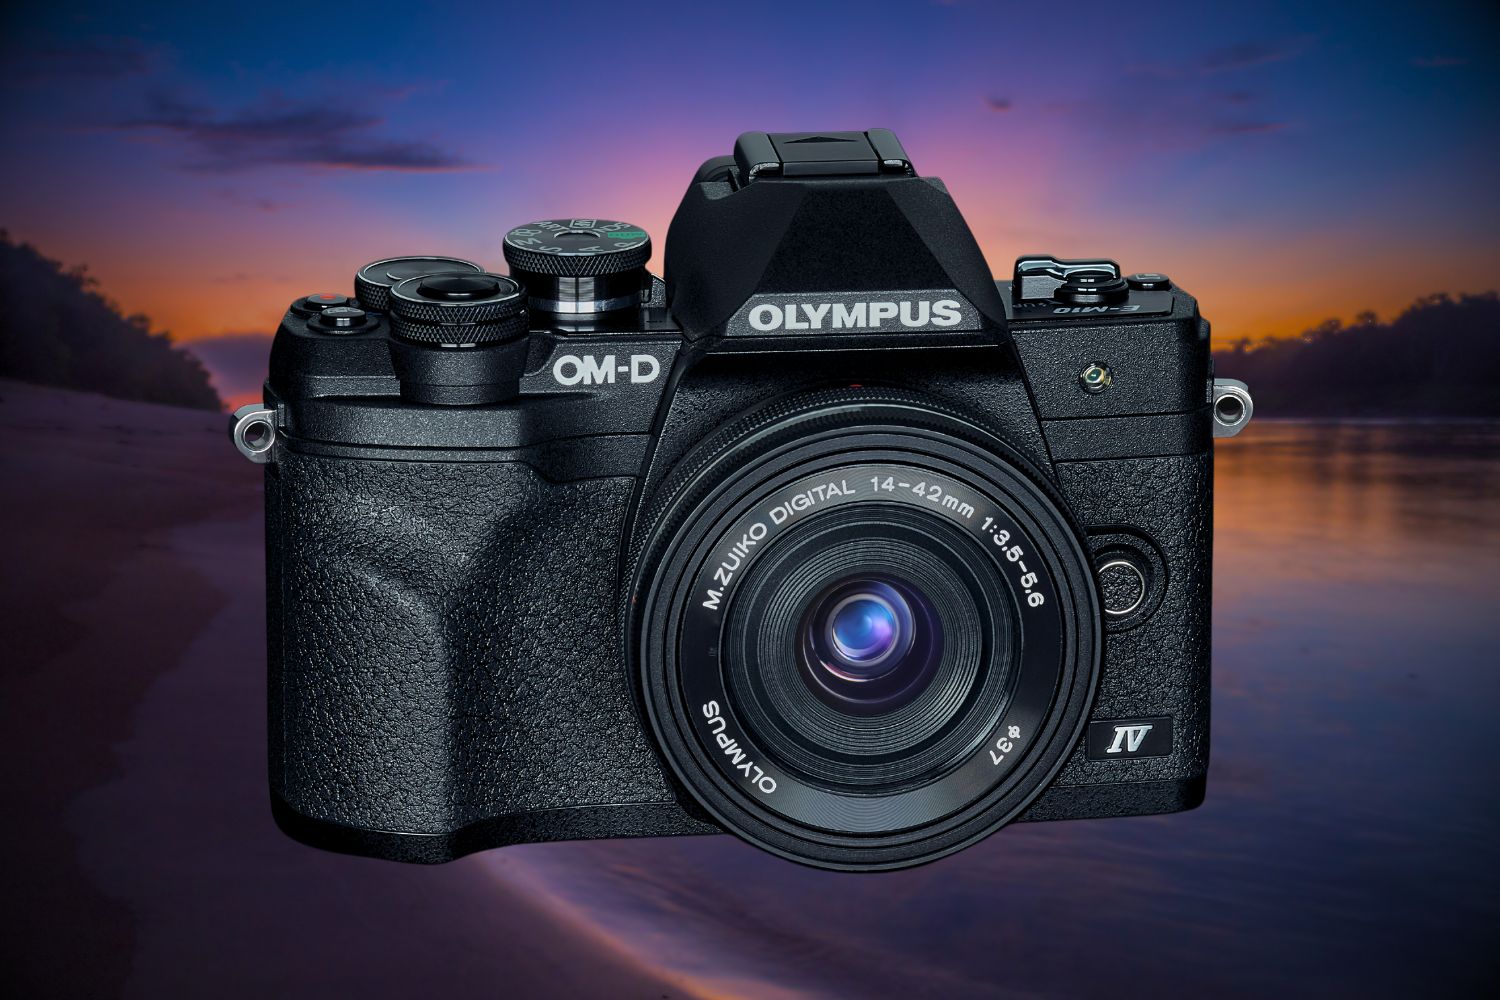
Don’t confuse them, the previous one was the Olympus E-M1 and this is the Olympus OM-D E-M10.
The previous one offered you some professional possibilities, but with this camera you will have all the essentials: image quality, portability, specific resources for nature photography and several hundred more euros in your pocket.
One of the improvements over previous versions is the sensor resolution. It has jumped from 15.9 MP to 20.1 MP. With this you will be guaranteed sharp and good quality images, even in low light situations (its wide ISO range, 100-25600, will also help you with this).
It has a 5-axis image stabilizer that stabilizes the body and lens and minimizes shake when shooting even while moving. I usually recommend using a tripod for almost everything, but with this camera you can save it in many situations.
You will be able to go wherever you want without realizing that you have it on you (it weighs very little, 383 g). It’s also easy to attach to (almost) any telescope and tripod for disigiscoping.
And, in addition, it has a folding touch screen, you can record videos in 4K and connect it to WiFi or Bluetooth to shoot without having to touch the camera.
– The ultra-compact and lightest OM-D camera yet.
– With the first flip-up touchscreen in the OM-D series for easy selfies and built-in Wi-Fi and Bluetooth for instant sharing of important moments.
– 5-axis image stabilization, high-resolution 20-megapixel sensor and TruePic VIII processor for professional images.
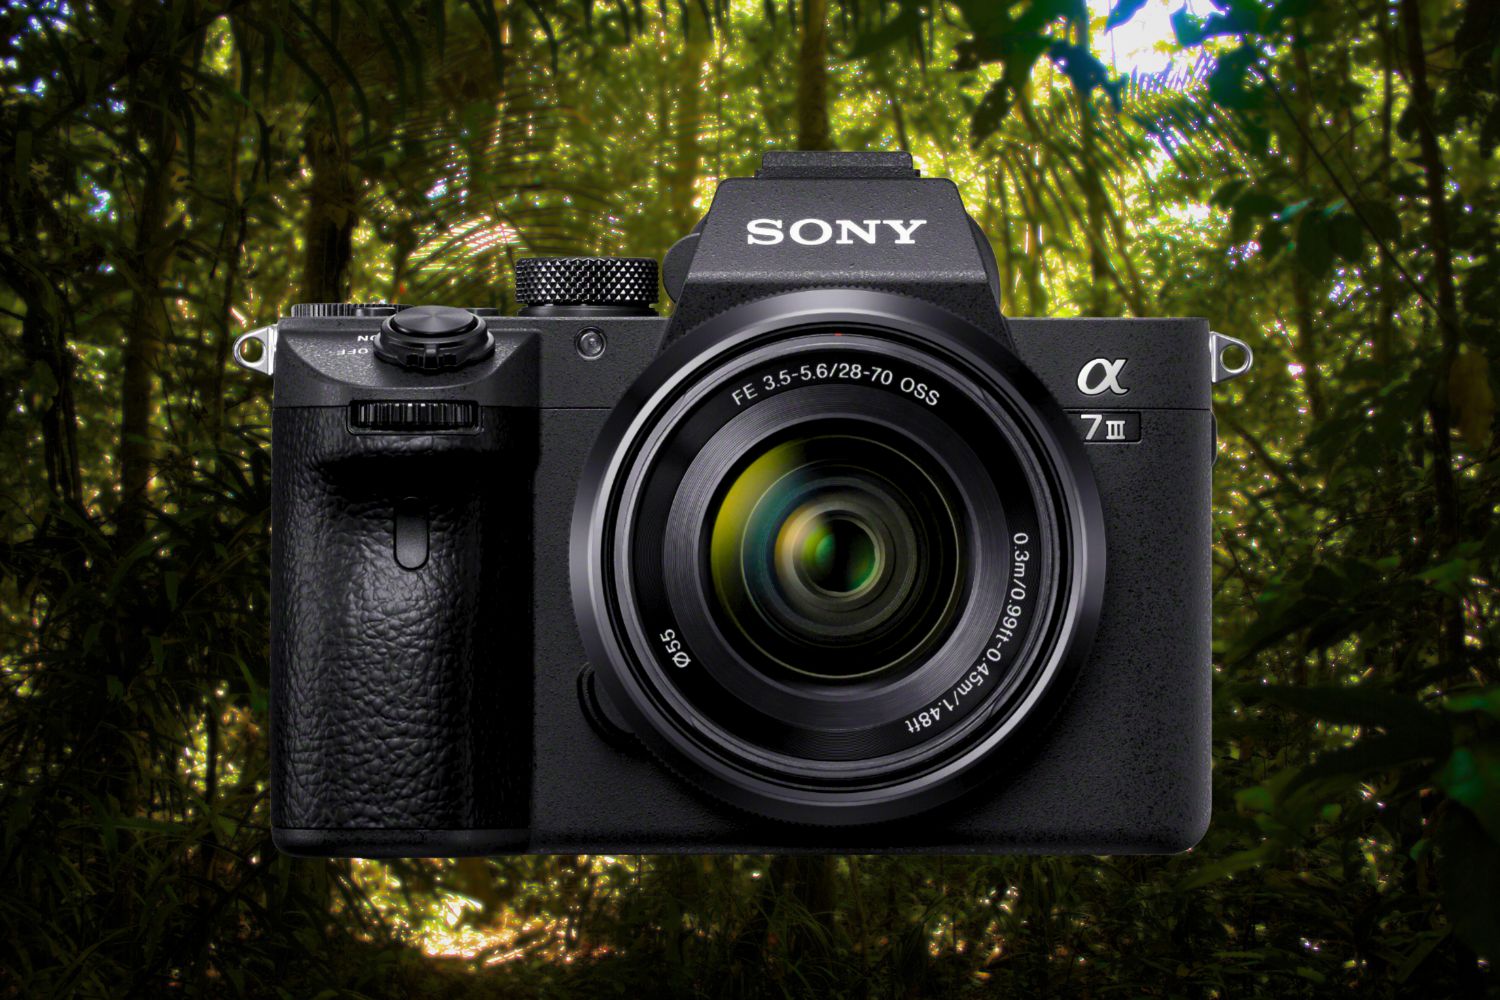
The Sony a7 III is a full-frame mirrorless camera that features interchangeable lens options. This setup is pretty impressive and makes many die-hard DSLR photographers think twice about their preference.
The full-frame sensor is capable of capturing minute details in both low and bright light situations. Its mirrorless construction makes this camera fast and compact.
Bird photographers will be impressed with the clarity and color this camera produces. Paired with the Sony FE 200-600mm, this camera makes an excellent mirrorless full-frame camera for bird photography.
If you’re hoping to get professional-level photos without paying for high-end Canon and Nikon cameras, the Sony a7 III is a great alternative.
Matching Lens: Sony FE 200-600mm F5.6-6.3 G OSS Super Telephoto Zoom Lens
Advantages:
– Excellent sensor.
– 693 autofocus points.
– Great battery life.
– Stabilization in the body (SteadyShot).
– Truly silent shutter function.
– Continuous shooting Up to 10 fps.
Disadvantages:
– It does not come with a dedicated battery charger.
– There are not as many equipment options as Canon and Nikon have.
Type: Mirrorless interchangeable lenses
Sensor: Full-frame Exmor R CMOS
Megapixels: 24.2
Frames per second: 10 fps, 8 fps
LCD Screen: 3” 923k-dot LCD touch screen
AF Points: 693 phase-detection AF and 425 contrast-detection AF points
ISO range: 50-204,800
Weight: 1.44 lbs
Connections: Wi-Fi, Bluetooth, NFC, high-speed USB and HDMI output
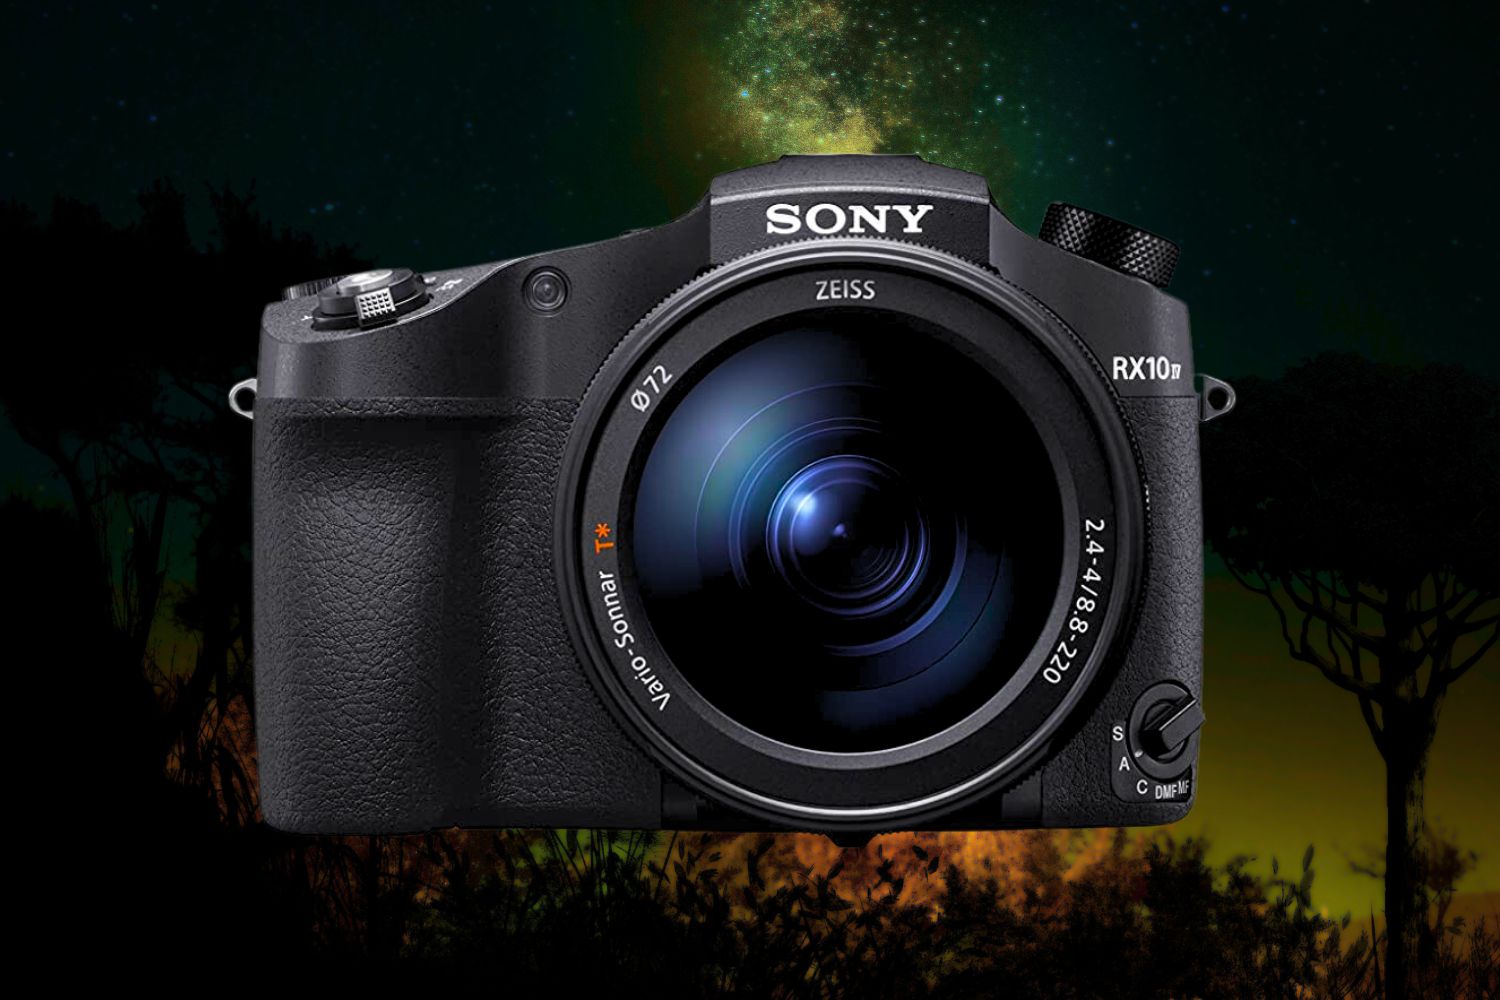
The Sony CyberShot RX10 IV with 0.03s autofocus and 25x optical zoom gives you great value for money. This point-and-shoot camera from Sony is mid-priced and packed with some of the latest technology in the photography industry.
When it comes to the best point-and-shoot for bird watching, you’d be hard-pressed to find better at this price point.
The camera also has the world’s fastest autofocus system (at the time of launch) and several other features that are essential for camera birds. The camera has an integrated autofocus system with 315 phase detection points. It also features a light metering mode and comes with a Vario Sonnar T multifunctional lens.
The camera offers a 20.1MP CMOS sensor. This gives you excellent quality when taking photos. It has a 24 fps continuous shooting mode. The camera offers a zoom range that can go up to 600mm, with a built-in 25x optical zoom.
Advantages:
– Effective for beginning bird watchers.
– 24 fps continuous shooting.
– Full AE tracking.
– 315 point phase detection technology.
– Stacked CMOS sensor.
– 25x optical zoom.
– Resolution of 20.1 MP.
– Faster autofocus.
Disadvantages:
– I can’t change the lens.
– Not full frame.
Type: point and shoot
Sensor: 20.1MP
Frames per second: 24 fpx
AF Points: 315
Weight: 2.32 pounds
Video: 4K6
Sensor resolution: 20.1 MP Maximum video resolution: 4K 30 FPS Battery life: 240 shots Weight: 0.275 kg
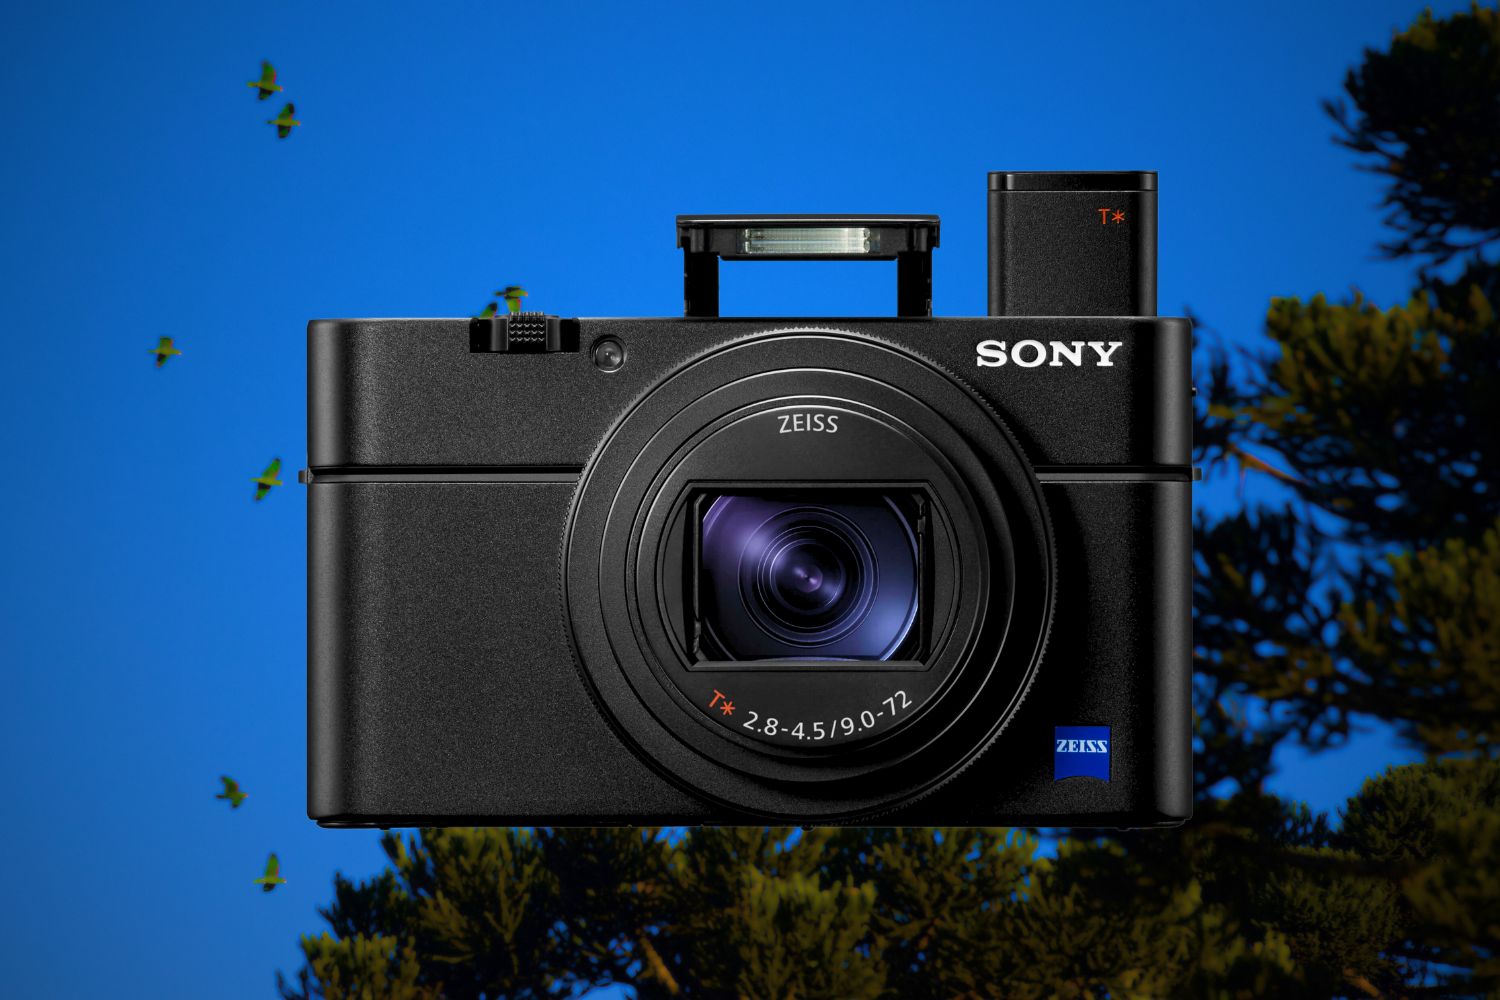
The Sony RX100 VII is a compact camera, but with incredible professional features. You’ll find a 2.35 million-dot pop-up EVF, a tilting touchscreen that lifts up to help you vlog, a metal frame, fully customizable buttons, and even a control ring on the lens.
When it comes to photographing birds, the RX100 VII excels, outperforming even some professional cameras. The 1″ sensor is small by DSLR standards, but that also means it’s incredibly fast, with the camera capable of 20 FPS in a burst with full AF and AE, as well as 90 FPS in a 7-frame burst for capturing. action quickly.
In addition, it features a 24-200mm equivalent zoom, up to 2x Clear Image Zoom, 4 IBIS stops, and most important of all, real-time tracking on both photos and video, which also supports animal eye tracking. Many well-known compact cameras cannot do this.
The video recording capabilities are equally impressive. The Fixed Shutter Optical IBIS helps keep handheld shots steady, even when the lens is fully extended, and the Real-time Tracking AF system will keep subjects in perfect focus, no matter what. The camera supports 4K 24/30 and FHD 120, not to mention uncompressed 4:2:2 output via HDMI.
It is a small camera, so the battery life is only 240 captures. However, the NP-BX1 battery is not too expensive and you can usually buy this camera with two batteries in the kit.
The RX100 VII is easily one of the best bird photography cameras you can get. It’s small, but it’s also fast, with great zoom, image stabilization, and real-time animal eye detection—features you’ll only find on more expensive professional cameras.
Advantages:
– AF tracking in real time.
– 20 FPS burst mode.
– 4K 30 video.
– 200mm zoom with 4x digital zoom.
– Disadvantage.
– Battery duration.
Disadvantages:
– Battery duration.
If you like quality photography, you will love this compact camera from Sony. It has a 50x optical zoom with about 1200mm equivalent focal length, so you’ll take great pictures of distant subjects. In addition, its back-illuminated sensor has a high resolution of 20.4 megapixels.
Its Carl Zeiss optical lens gives you a large maximum aperture of f/2.8 at the shortest focal length (24mm). Includes optical stabilizer and the ability to record videos in Full HD. Added to this, its screen can be adjusted 90º up and down, which is very useful for complex postures.
With this camera you can photograph birds, wild animals and your best moments in nature. Compared to its predecessor (H400), it has a lower zoom range, although it surpasses it in everything else. Sony’s HX line is the jewel in its crown.
Sensor resolution: 12.1 MP Maximum video resolution: 4K 30 FPS Battery life: 380 shots Weight: 0.64 kg
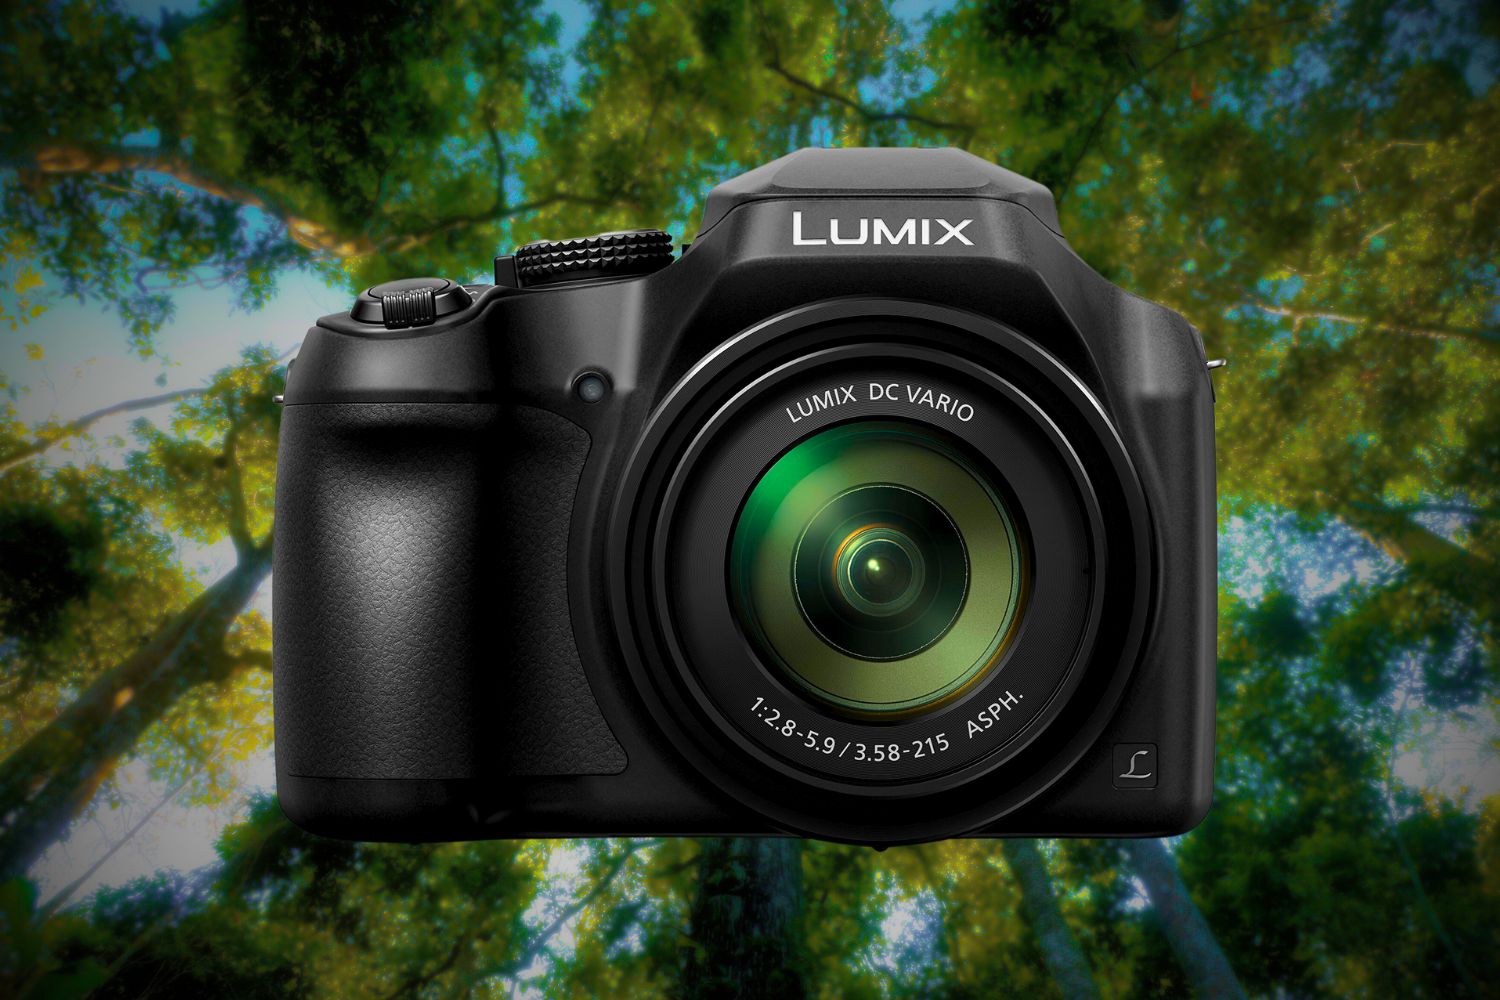
The Panasonic LUMIX FZ300 is a compact superzoom camera in an SLR-style body. The result is a large body and, thanks to the lens, also heavy. However, it has good grip and is well balanced, so weight won’t be an issue.
The 12.1 MP sensor limits cropping options, but the 24-600mm equivalent zoom lens more than makes up for it by allowing you to perfectly frame the shot right from the start. Paired with a class-leading 60 FPS burst mode with ES, it’s hard to miss even the slightest movement from those birds.
Autofocus uses Panasonic’s contrast-based DFD system. This system is not as efficient as the PDAF systems on newer cameras, but it is fast and usually gets the job done.
The camera supports 4K30 and FHD 60 recording modes, as well as HD 120 and SD 240 FPS slow motion. They all use DFD AF mode with 4-stop OIS to ensure fast, smooth focusing and stable shots. Its video performance is excellent.
At 380 shots, battery life is slightly below average for a compact camera, but the high-speed burst modes and small sensor should ensure you get the most out of your photos.
Given its price, it’s hard to say no to the 600mm zoom on offer here, especially since it stays at F2.8 even at telephoto. The resolution and battery life may not be the best, but you get results that you simply don’t get with many other cameras in this price range. For a bird photographer, this is definitely worth buying.
Sensor resolution: 18 MP Maximum video resolution: 4K 30 FPS Battery life: 330 shots Weight: 0.61 kg
Another great camera for bird photography, affordable, comfortable to use and with a 1200mm equivalent zoom lens. The Panasonic Lumix DC-FZ82 also features a bright EVF and a few controls that make navigation and control a breeze.
Optically the Lumix FZ82 can go from 20-1200mm, but if you don’t mind cropping the image you could end up with an effective focal length of around 6700mm. This is basically telescope territory and will allow you to catch the finest details from a bird’s eye view from over a mile away.
An excellent stabilization system and a blazing fast 30 FPS burst mode (capped at 8 MP) will ensure you never miss a shot due to sudden movement.
The video capabilities are pretty impressive for a camera that costs as little as this. It achieves good quality 4K video at 30 FPS, and includes Panasonic’s slower but usually reliable depth blur system.
330 shots per charge is low, but better than many cameras in this class. However, this will drastically decrease when using the EVF or shooting video. Luckily, Panasonic offers you the possibility of charging the batteries via USB, so all you need is a good power bank.
This camera redefines the concept of “superzoom” with the 6700mm equivalent cropped zoom mode it offers. Paired with a 30 FPS burst mode and 18 MP stills, and at such a low price, the FZ82 is one of the best cameras for beginners.
Advantages:
– Unlimited 30 FPS burst.
– Equivalent zoom up to 6700 mm.
– Robust construction.
– 4K 30 video support.
– Economic.
Disadvantages:
– Contrast focus is slow.
The Panasonic Lumix GX85 is a compact and lightweight mirrorless camera that offers a fast shutter speed and a range of other features to enhance image capture.
Paired with the Panasonic Lumix G II Vario 100-300mm lens, photographers will get the focal length they need to shoot small or distant subjects. This camera is a great option for travelers looking for a compact setup. The Panasonic Lumix GX85 is a great all-purpose camera, offering high-quality image capture and even 4K video.
Matching lens: Panasonic Lumix G II Vario 100-300mm lens.
Advantages:
– A mirrorless camera.
– Quite affordable price.
– Light and compact.
– 4K video.
– Great for everyday photos.
– Perfect for travel.
– Small sensor.
– Less lens options.
Type: Mirrorless interchangeable lenses
Sensor: 1/2.5 in. Live MOS sensor.
Megapixels: 16
Frames per second: 8 fps at full resolution
LCD screen: 3” tilt and touch LCD
AF Points: 49
ISO range: 100-25,600
Weight: 1lb
Connections: Wi-Fi, high-speed USB and HDMI output
Most Leica cameras accept interchangeable lenses, but the Leica Q2 is the exception, with a 28mm f/1.7 fixed lens. It’s like the unicorn of digital cameras, although some people have seen one, including us. The successor to the original 24-megapixel Leica Q, the Leica Q2 is aimed at photographers who want a powerful camera that’s also relatively small and unobtrusive, but with a 47.3-megapixel full-frame sensor.
The body is resistant to water and dust, plus there is a 4K video recording option that also includes the option of ‘C4K’ (Cinematic 4K). In burst mode, the Q2 can shoot up to 10fps with the mechanical shutter or 20fps with the electronic shutter. Of course, the Q2 is hand-built in Germany, with magnesium body construction. Yes, this is a luxury option for the street photographer, but the 47-megapixel sensor offers a wealth of beautiful detail. It looks like the waiting lists are finally clearing up, so you may no longer need to ‘Q’ your Leica Q2. By the way, we also love the Leica Q2 Monochrom version.
SPECIFICATIONS:
– Type: Compact.
– Sensor size: full frame.
– Megapixels: 47.3MP (effective).
– Lens: Fixed 28mm, f/1.7
– Autofocus: Contrast-based AF system.
– LCD: 3-inch fixed touch screen, 1.04 million dots.
– Viewfinder: EVF
– Continuous shooting: 20 fps
– Maximum video resolution: 4K
Many Leica cameras form an unusual hybrid in that their interiors are essentially the same as cameras from other manufacturers, while their exteriors are all Leica. Some of these are simple name changes, but the relatively recent Leica SL2 is something a bit different. On the inside it’s extremely similar to Panasonic’s Lumix S1R, a superb mirrorless full-frame camera, but on the outside it’s completely different, a sleek, minimalist design with few controls, designed to fully immerse you in the shooting experience.
The interface is a revelation, elegant and so intuitive that it immediately puts a smile on your face. With a bright future for L-mount lenses (check out the L-mount lens roadmap), this 4K-capable camera is a fantastic buy for any prospective Leica owner.
SPECIFICATIONS:
– Type: Mirrorless.
– Sensor size: full frame.
– Megapixels: 47MP (effective).
– Lens mount: L-mount
– Continuous shooting: 10/20 fps.
– Maximum video resolution: 4K
– User level: Professional.
Leica M cameras are an acquired taste. They’re devilishly expensive, of course, and decidedly old-fashioned in design and function. They can’t stand fools happily. And yet, the M10-R also features some of the latest digital technology to produce image quality that defies any other full-frame camera, and a shooting experience that remains unique.
Like previous M-series cameras, the M10-R doesn’t take fools with pleasure and it takes practice, and some mistakes, to learn how to use it effectively. However, it will reward you with a shooting experience like no other. If you have a lot of money, or your passion is engineering, heritage, the look of classic camera designs, or just the look of pictures, the M10-R could be the camera of your dreams.
SPECIFICATIONS:
– Type: rangefinder.
– Sensor size: full frame.
– Megapixels: 40MP (effective).
– Lens mount: Leica M.
– Autofocus: None, manual focus via rangefinder or Live View.
– LCD: 3-inch fixed touch screen, 1.04 million dots.
– Viewfinder: direct vision.
– Continuous shooting: 4.5 fps.
– Maximum video resolution: none.
– User level: enthusiast / professional.
Digiscoping is a traditional method of attaching a digital camera to a telescope, using a specialized adapter. Here you could use a simple camera or even a mobile phone and the equipment is cheaper than a long distance telephoto lens. In addition, this technique offers you stability and an equivalent focal length of up to 5000 mm. The problem is that it is not easy to learn and requires a lot of experience, in addition to other drawbacks such as the lack of autofocus and poor mobility.
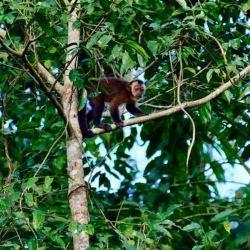
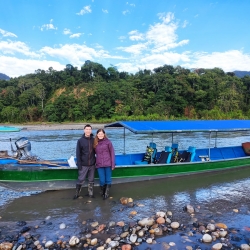
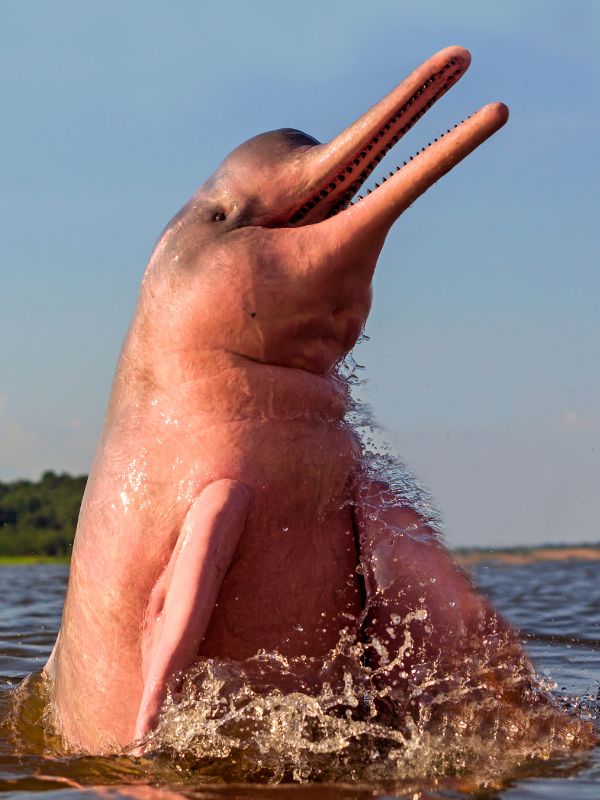
Discover the majestic Amazon rainforest of the Manu National Park. This protected area is in Peru, it is one of the largest ecosystems on the planet, due to its great diversity of birds, insects, plants and mammals.


The Manu Jungle tour goes to one of the largest life biosphere reserves in the World. You will enjoy wildlife, traditional villages, with the best specialized guides.
Manu National Park is an excellent way to experience an intense amazon wildlife.Is the biggest Amazon rainforest in the Americas, its incomparable natural wealth, host the greatest amount of flora and fauna of the world.